
z929669
-
Posts
13,086 -
Joined
-
Last visited
Everything posted by z929669
-
TC's User wiki page also has some info (TC, you should update that and point others to it) It has much better grafics now! EDIT, I updated the links :)
-
any INI file maintenance should be enclosed in tags on the wiki so that it is simple to copy the INI directly. Editing is a little more work on the wiki, but with the pre tags, it is much simpler ... I would just update my personal INI and copy/paste directly between the pre tags on the wiki. All indents will be retained. Separate functions could be listed on a specific page or they could be created as separate pages and the info could be stored semantically. If Tech creates the structure as best he can, and all others contribute information either through Tech or directly on the wiki, I will review the structure of the info as it takes shape and organize it all in a meaningful and easy-to-reference way ;) For now, just get the info out there in any organized and consistent fashion (no files please unless they are images)
-
Low Quality Textures Close Up Vanilla
z929669 replied to DepartedCitizen-00003's question in General Skyrim LE Support
Stretched textures are a mesh issue, and No Stretching will fix, but ONLY if that mod actually fixes that particular mesh, which it may not. no Stretching exacerbates other issues though, so that is why we dropped it from STEP. in short, it fixes UV mapping, but due to the way meshes and textures for rocks and mountains were created, the mod fixes some things and messes up other things (i.e., Bethesda stretched some textures as a compromise for their lack of proper rock models ... the vanilla models share too few textures). Any base vanilla install requires a couple of mods installed at minimum to resolve certain fundamental issues, so install these and call it a 'corrected' base vanilla (refer to the STEP Guide): Unofficial Patches (all of them; these correct many issues with the vanilla game and may impact some of those stated in the OP)SkyUI (for simpler interface on PC)SMIM (fixes many of the bad meshes that will likely fix many issues reported here)High Quality LOD (fixes LOD meshes)Again, you may be reinstalling Skyrim, but I encourage you to uninstall Steam/Skyrim completely and reinstall again using the STEP Guide instructions ... and use MO. -
Low Quality Textures Close Up Vanilla
z929669 replied to DepartedCitizen-00003's question in General Skyrim LE Support
Certain vanilla textures (and meshes) are just low quality. That is why there are so many retexture mods. I would be more concerned about that dragon issue. that is just wrong. Many of your other issues are not really issues at all. Try installing STEP by carefully following all guide instructions from the beginning. If you use MO, then you can retain your vanilla setup for comparison. Also, be sure to try a completely fresh Steam/Skyrim install just in case you have any assets in skyrim/Data that you may not be aware of. Again, using MO will make this much simpler to test and set up without fears of rogue assets in the game directory. loose files always win, so you need to eliminate that possibility. -
Low Quality Textures Close Up Vanilla
z929669 replied to DepartedCitizen-00003's question in General Skyrim LE Support
This is very likely a GPU issue, since the assets are all vanilla and (agreeing with Aiyen) the mip-maps are apparently being invoked instead of the base texture, even when up close and without steep angles to the camera. Only the shaders interacting with the GPU would seem to control that ... ... what is your "texture filtering" level set to in your GPU driver software? Perhaps you have it set to normal or low quality? try setting that to high or ultra or whatever. See the STEP Guide for setting up the Skyrim Launcher, INI settings and GPU drier software. -
You could use either, but only "Desktop Management" tool has gamma, so I would use that. It really doesn't matter in the end, as long as you can match --on your monitor-- the color-management references linked.
-
Ignore "My display flat panels" and leave it at defaults, since it does not have a gamma setting and is monitor specific (DVI only). From the help menu: Display Color for Digital Flat-Panels (DVI Monitors) Use the Display Color (Digital Flat-Panel) page to set the hue, saturation, brightness, contrast, and color temperature for displays connected through a DVI connection. This page contains color settings for individual displays. To configure color settings a particular desktop and all its associated displays, see Desktop Color instead. Desktop Color Use the Desktop Color page to adjust color settings, such as gamma, brightness, and contrast, for a particular desktop. If multiple displays are associated with the desktop, then all changes in the page are applied to each of the displays. The Desktop Color page is found under the Desktops and Displays > Desktop Management group in Standard View or the Desktop Management group in Advanced View. To adjust color settings for an individual display, use the Display Color page for that particular display. For more information, see Display Devices. ... all you need to know seems to be in the help.
-
Aren't changes in one area reflected in the other where there are redundancies? I use "Desktop Management" I think, and there is a button in the middle of this that must be clicked on to engage the CCC 2D drivers.
-
This also ensures that we can keep track of the sources of information.
-
Graphics-driver version usually has more range and degrees of freedom. Just follow the instructions and notice that #3 is the 'best' method, given that #1-#2 are not set to 'extremes' (those should be set to baseline defaults)
-
SKYRIMLE Issues with guide instructions
z929669 replied to Luinithil's question in Creation Kit Support
I am finally trying to learn more about using the Creation Kit ... Currently, I am having real problems panning the camera. If I hold down my mouse wheel (mouse 3), I can pan, yes, but whatever object is selected also moves to the left. This happens whenever I hold down the mouse wheel. Selected object continuously moves to the left, and I can pan just fine ... but who cares, because I have now messed up the selected object's position. Soes anyone have any idea why this is happening or how to 'fix'? -
DROPPED Terrain Bump - Texture Pack (by SparrowPrince)
z929669 replied to z929669's topic in Skyrim LE Mods
Not sure. It probably has something to do with the move. Will need to look into it. EDIT: We may have to dig them up from a site backup ... I have not set up my local dev server, which is where this would be stored if I had it. -
DROPPED Terrain Bump - Texture Pack (by SparrowPrince)
z929669 replied to z929669's topic in Skyrim LE Mods
Yes, all is laid out, but most people unfortunately only read a short bit of a thread and take posts they see out of the larger context, so drowning 'nay'say with lots more 'yay'say might just prevent some people from getting concerned over things that shouldn't be concerning to them unless they actually notice an obvious issue on their own. -
Sorry, I moved the page to the correct spelling https://wiki.step-project.com/Guide:ENBseries_INI/Environment now the breadcrumb to the parent is there, not sure what your CSS is doing though.
-
DROPPED Terrain Bump - Texture Pack (by SparrowPrince)
z929669 replied to z929669's topic in Skyrim LE Mods
Some people that come here listen to technical stuff that they might not understand ... all these people hear is "this is not the way it is supposed to be" or "this is not 'best practice'", and they do not objectively see anything else, and OCD takes over, and suddenly you have a scare, and Ebola is going to kill anyone with TB installed :/ I am just trying to rectify illogical and irrational conclusions. -
Here is an example of how this could work using your Environments tab ... the way you have it, there is no need to create a /Screenshots subpage. https://wiki.step-project.com/Guide:ENBseries_IN/Environment ... be sure to navigate to the bottom of the page and follow the category links to see how it is hierarchically organized under the Guides category.
-
Dummy images are an image one of us uploaded quite a while back that tech is using over and over again for now.RE duplicated images: Good, that's what I expected but was not certain. Tech, I am just suggesting that you use the INI sections as subpage names to your guide and /Screenshots as sub-subpage names to the sections, as that seems like the only way you could logically parse the screens (but for some of these sections, you might even need to go down to /Guide:ENBSeries.INI/Sectionname/Screenshots/#) I will change the category of the guide and add it as a sub to Guides, and if you add [[Category:INI Settings]] to your 'settings section' pages and [[Category:Screenshots]] to your screenshots sub-subpages, that would work nicely I think.
-
I can delete your pages.
-
DROPPED Terrain Bump - Texture Pack (by SparrowPrince)
z929669 replied to z929669's topic in Skyrim LE Mods
Why bother? Just install the mod ... the consensus is that it is an improvement, regardless of normal-map sourcing (see instructions on the mod page). That is why it is in STEP (read above) -
I modified my previous post and you both me ... see above
-
I had thought we determined this some time ago .... o_O
-
The dummy image is small, but I am not sure if browsers (or wiki caching) treat the images as one instance repeated many times or many instances repeated one time (i.e., for 300 duplicated images, 1 cached image versus 300, respectively). I think that a good multi-page strategy could be done in two ways: creating one page per setting at the top level (and adding all to a unique category or, better yet, a subcategory of [[Category:Guides]]), or creating one top-level page and giving each setting a subpage. I searched the wiki using term 'screenshots' ... Terrain Bump screenshots subpage came up, and it belongs to [[Category:Mod Subpage]], which belongs to [[Category:Mods]], so this was a successful search for me, and it seems to be a logical way to organize mod-related screenshots. (but where the heck did the images go??). Anyway, the ENB INI guide could use /Screenshot subpages by setting and use [[Category:Screenshots]]. I think then each subpage will inherently belong to [[Category:Guides]] as well EDIT: Actually, a category hierarchy makes sense too ... Key: Category[subcat][sub-subcat] (pagename/subpagename/subsubpagename) [*]Guides (Guide:ENB) [*]INI Guides (Guide:ENBSeries.INI) [*]INI Settings (Guide:ENBSeries.INI/Environment) [*]Screenshots (Guide:ENBSeries.INI/Environment/Screenshots) the subpages are INI section names. I know these are subpages (s4n does not like them), but they are also categorized effectively, and the page names are intuitive. Searching by any term in the page name will bring that page near the top of the search result, and it is simple for users to navigate either visually or via the URL.
-
you want to use "raise foliage-map opacity each mip-level" and set that to some higher value in the DDSopt submenu under behave. that will fix such issues.
-
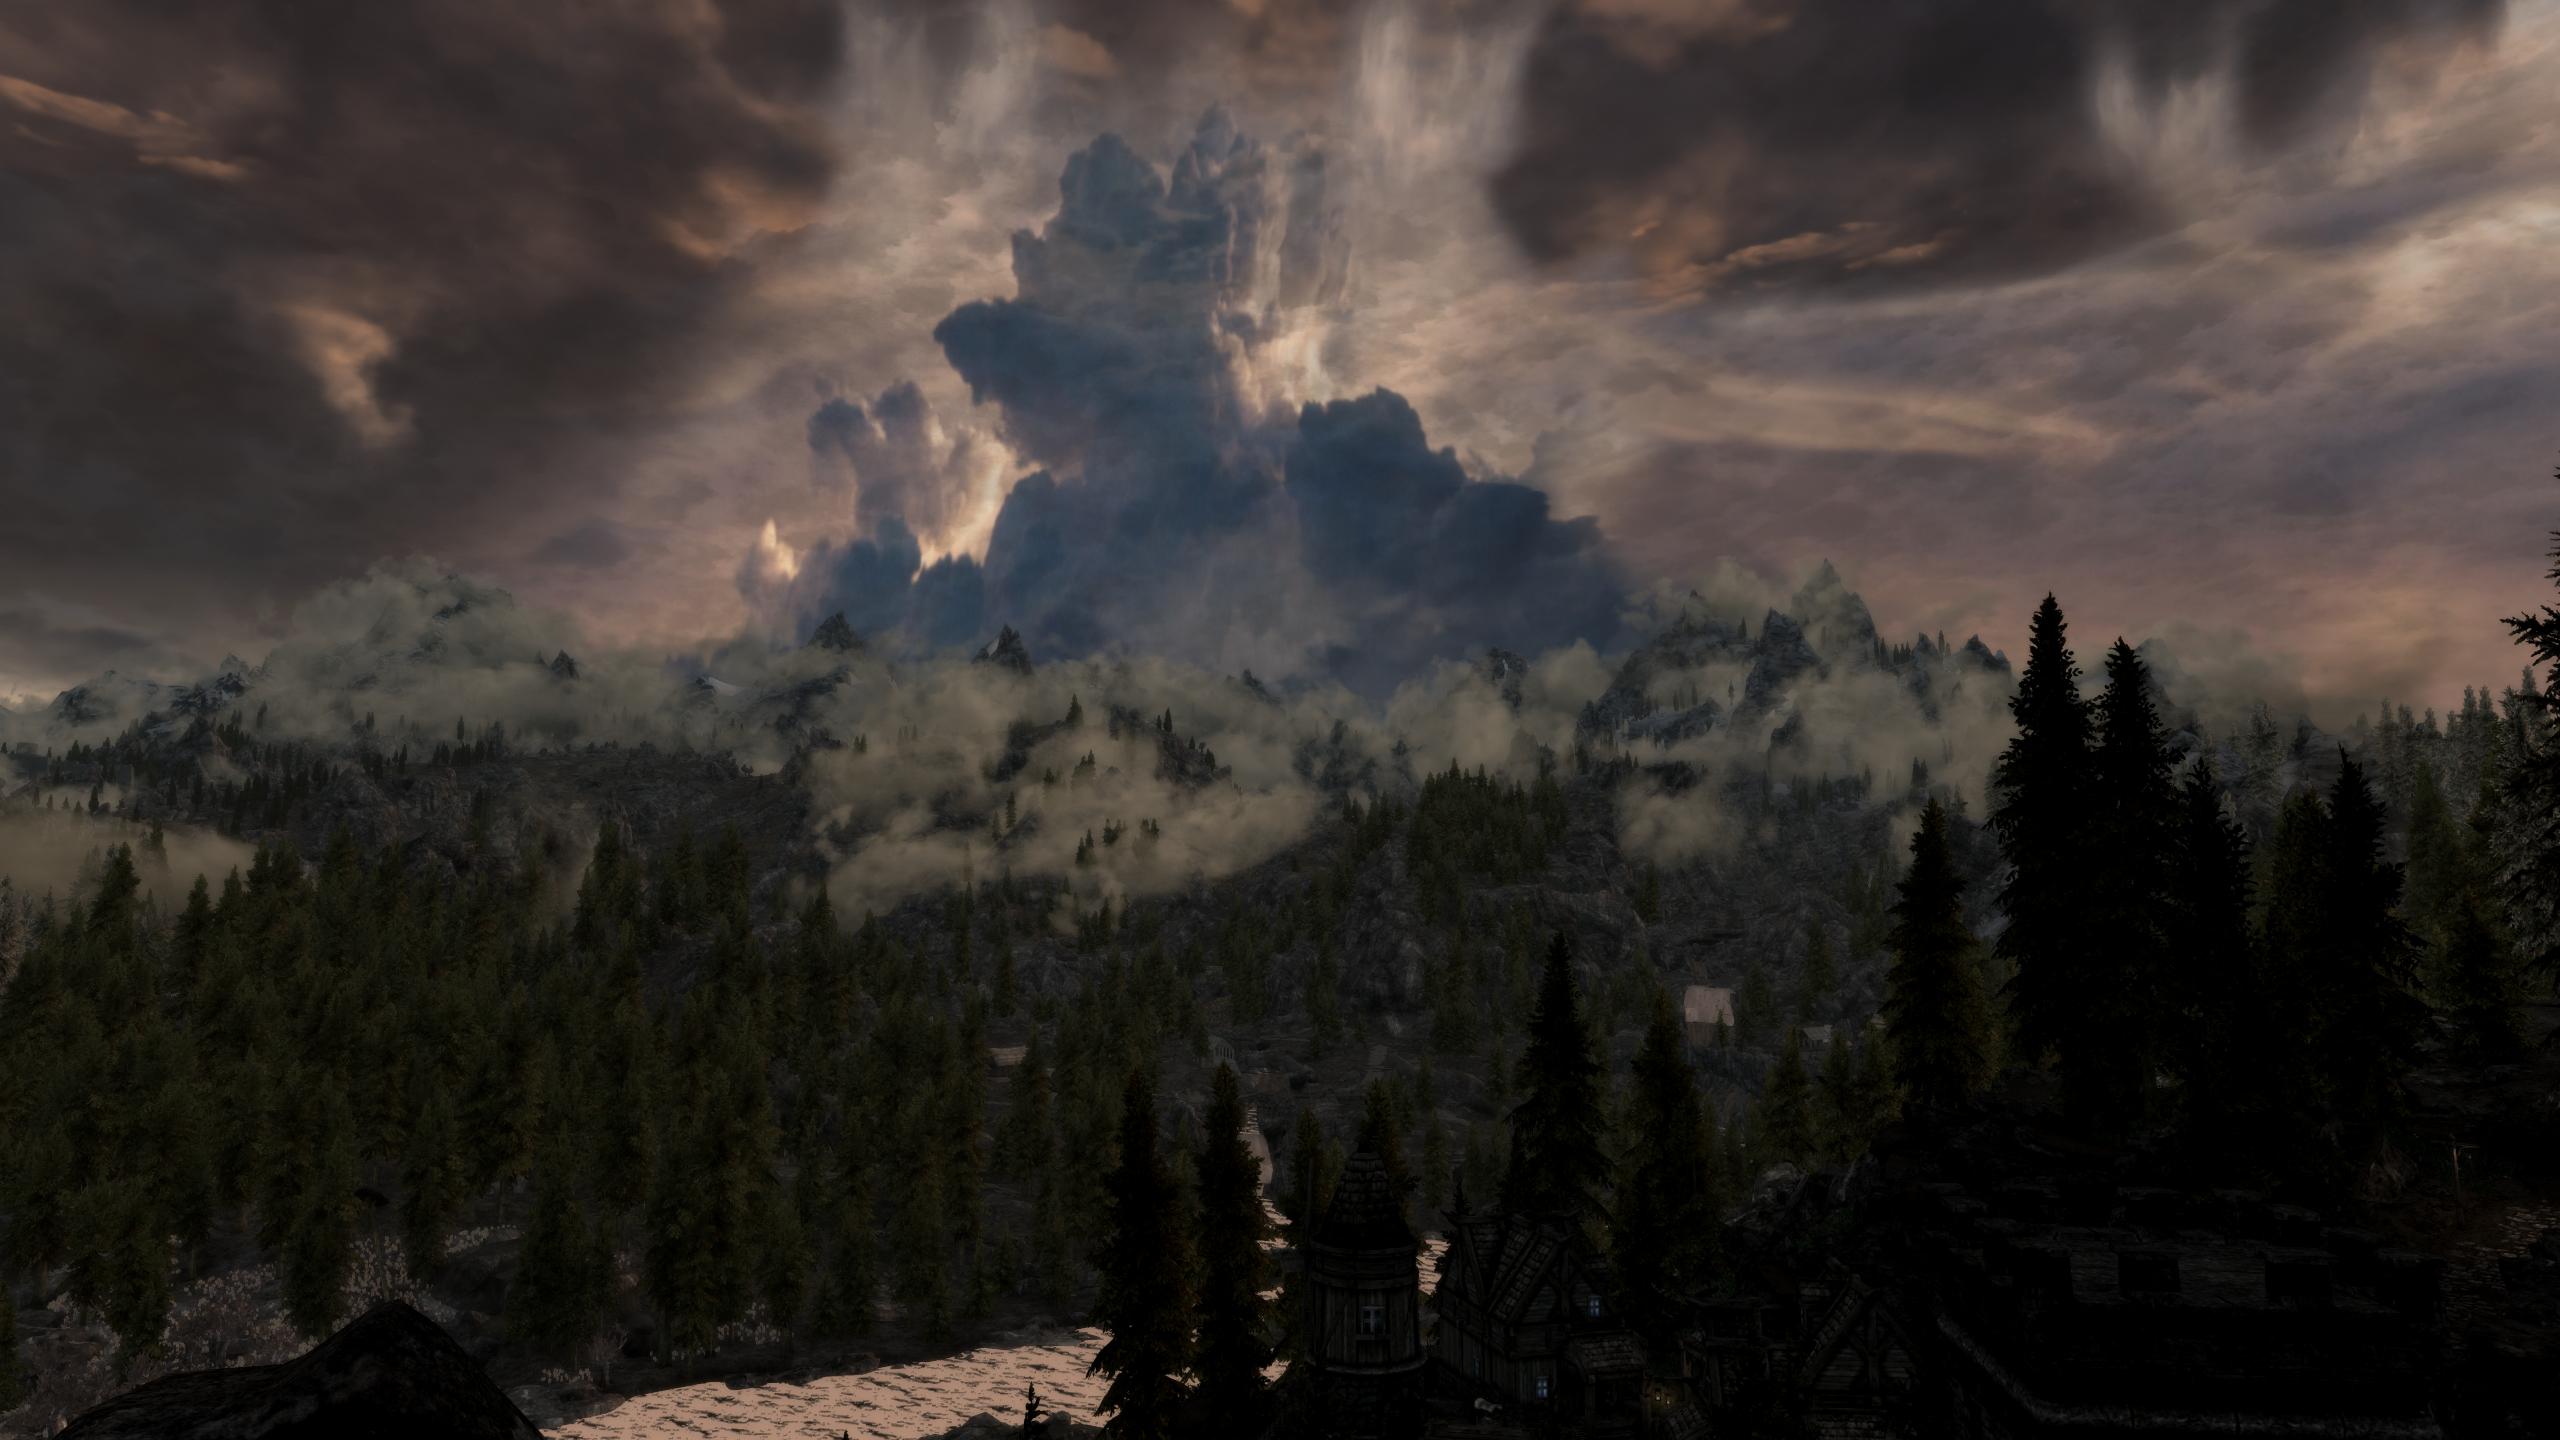
Actually, there are lots of things in addition to faces that get this treatment ... head, hands and skin textures in addition to architecture, blood, clutter, cubemaps, LOD, sky, etc.The facetint stuff doesn't seem to use alpha, but I have only checke a few ...Here are some interesting examples ... alpha used for effects data: # orange.dds ##################################################################D:Skyrim ModsMod_WorkingOptimizationSkyrim Vanilla Textures (cleaned source)texturesdlc02effectsorange.ddsprocessing: Format : DXT1 to A8R8G8B8 Dimensions : 4x4 to 1x1 - 3 to 1 levelsnotes: Turned contrast off for interface texture. Planar image detected, collapsing to size 1x1. Texture was compressed.delta: 20 bytes less# fxtentacle01.dds ############################################################D:Skyrim ModsMod_WorkingOptimizationSkyrim Vanilla Textures (cleaned source)texturesdlc02effectsfxtentacle01.ddsprocessing: Format : DXT5 to A8R8G8B8 Dimensions : 256x1024 to 1x1 - 11 to 1 levelsnotes: Turned contrast off for interface texture. Planar image detected, collapsing to size 1x1. Texture was compressed.delta: 349580 bytes less... and another ... alpha used for opacity: # transparent.dds #############################################################D:Skyrim ModsMod_WorkingOptimizationSkyrim Vanilla Textures (cleaned source)texturesdlc02weaponsrieklingspearstransparent.ddsprocessing: Format : DXT1 to A8R8G8B8 Dimensions : 128x128 to 1x1 - 8 to 1 levelsnotes: Planar image detected, collapsing to size 1x1. Texture was compressed.delta: 10932 bytes lessThe face textures may be a special case, since those textures are dependent upon base textures, and many titmasks do not get converted to 1x1, because they are not monochromatic. My guess is that the meshes have the restriction. But this will likely not apply to anything not being used as a texture overlay-type texture or maybe anything other than faces. EDIT: Following is an example of what I am absolutely sure is a problem texture after optimization, but it is unclear if this is due to downscaling the texture or conversion, but I suspect the former: # skyrimcloudsfill.dds ########################################################D:Skyrim ModsMod_WorkingOptimizationSkyrim Vanilla Textures (cleaned source)texturesskyskyrimcloudsfill.ddsprocessing: Format : DXT1 to A8R8G8B8 Dimensions : 32x32 to 1x1 - 6 to 1 levelsnotes: Planar image detected, collapsing to size 1x1. Texture was compressed.delta: 692 bytes less
-
I am wondering if a similar effect is seen with other 1x1. That alpha likely makes all the difference. If the collapsed version changes the alpha to pure black, then that would account for the purple (i.e., texture is missing). I optimized every vanilla texture without constraint and will test the effects in game by randomly going all kinds of places ....
