
z929669
-
Posts
13,086 -
Joined
-
Last visited
Everything posted by z929669
-
Download the optimized textures from STEP or Tony671 on the Nexus. There is no need to use DDSopt on the vanilla textures any longer. If you just want to learn how to use DDSopt, use it for custom work or mods that need it.
-
DROPPED Terrain Bump - Texture Pack (by SparrowPrince)
z929669 replied to z929669's topic in Skyrim LE Mods
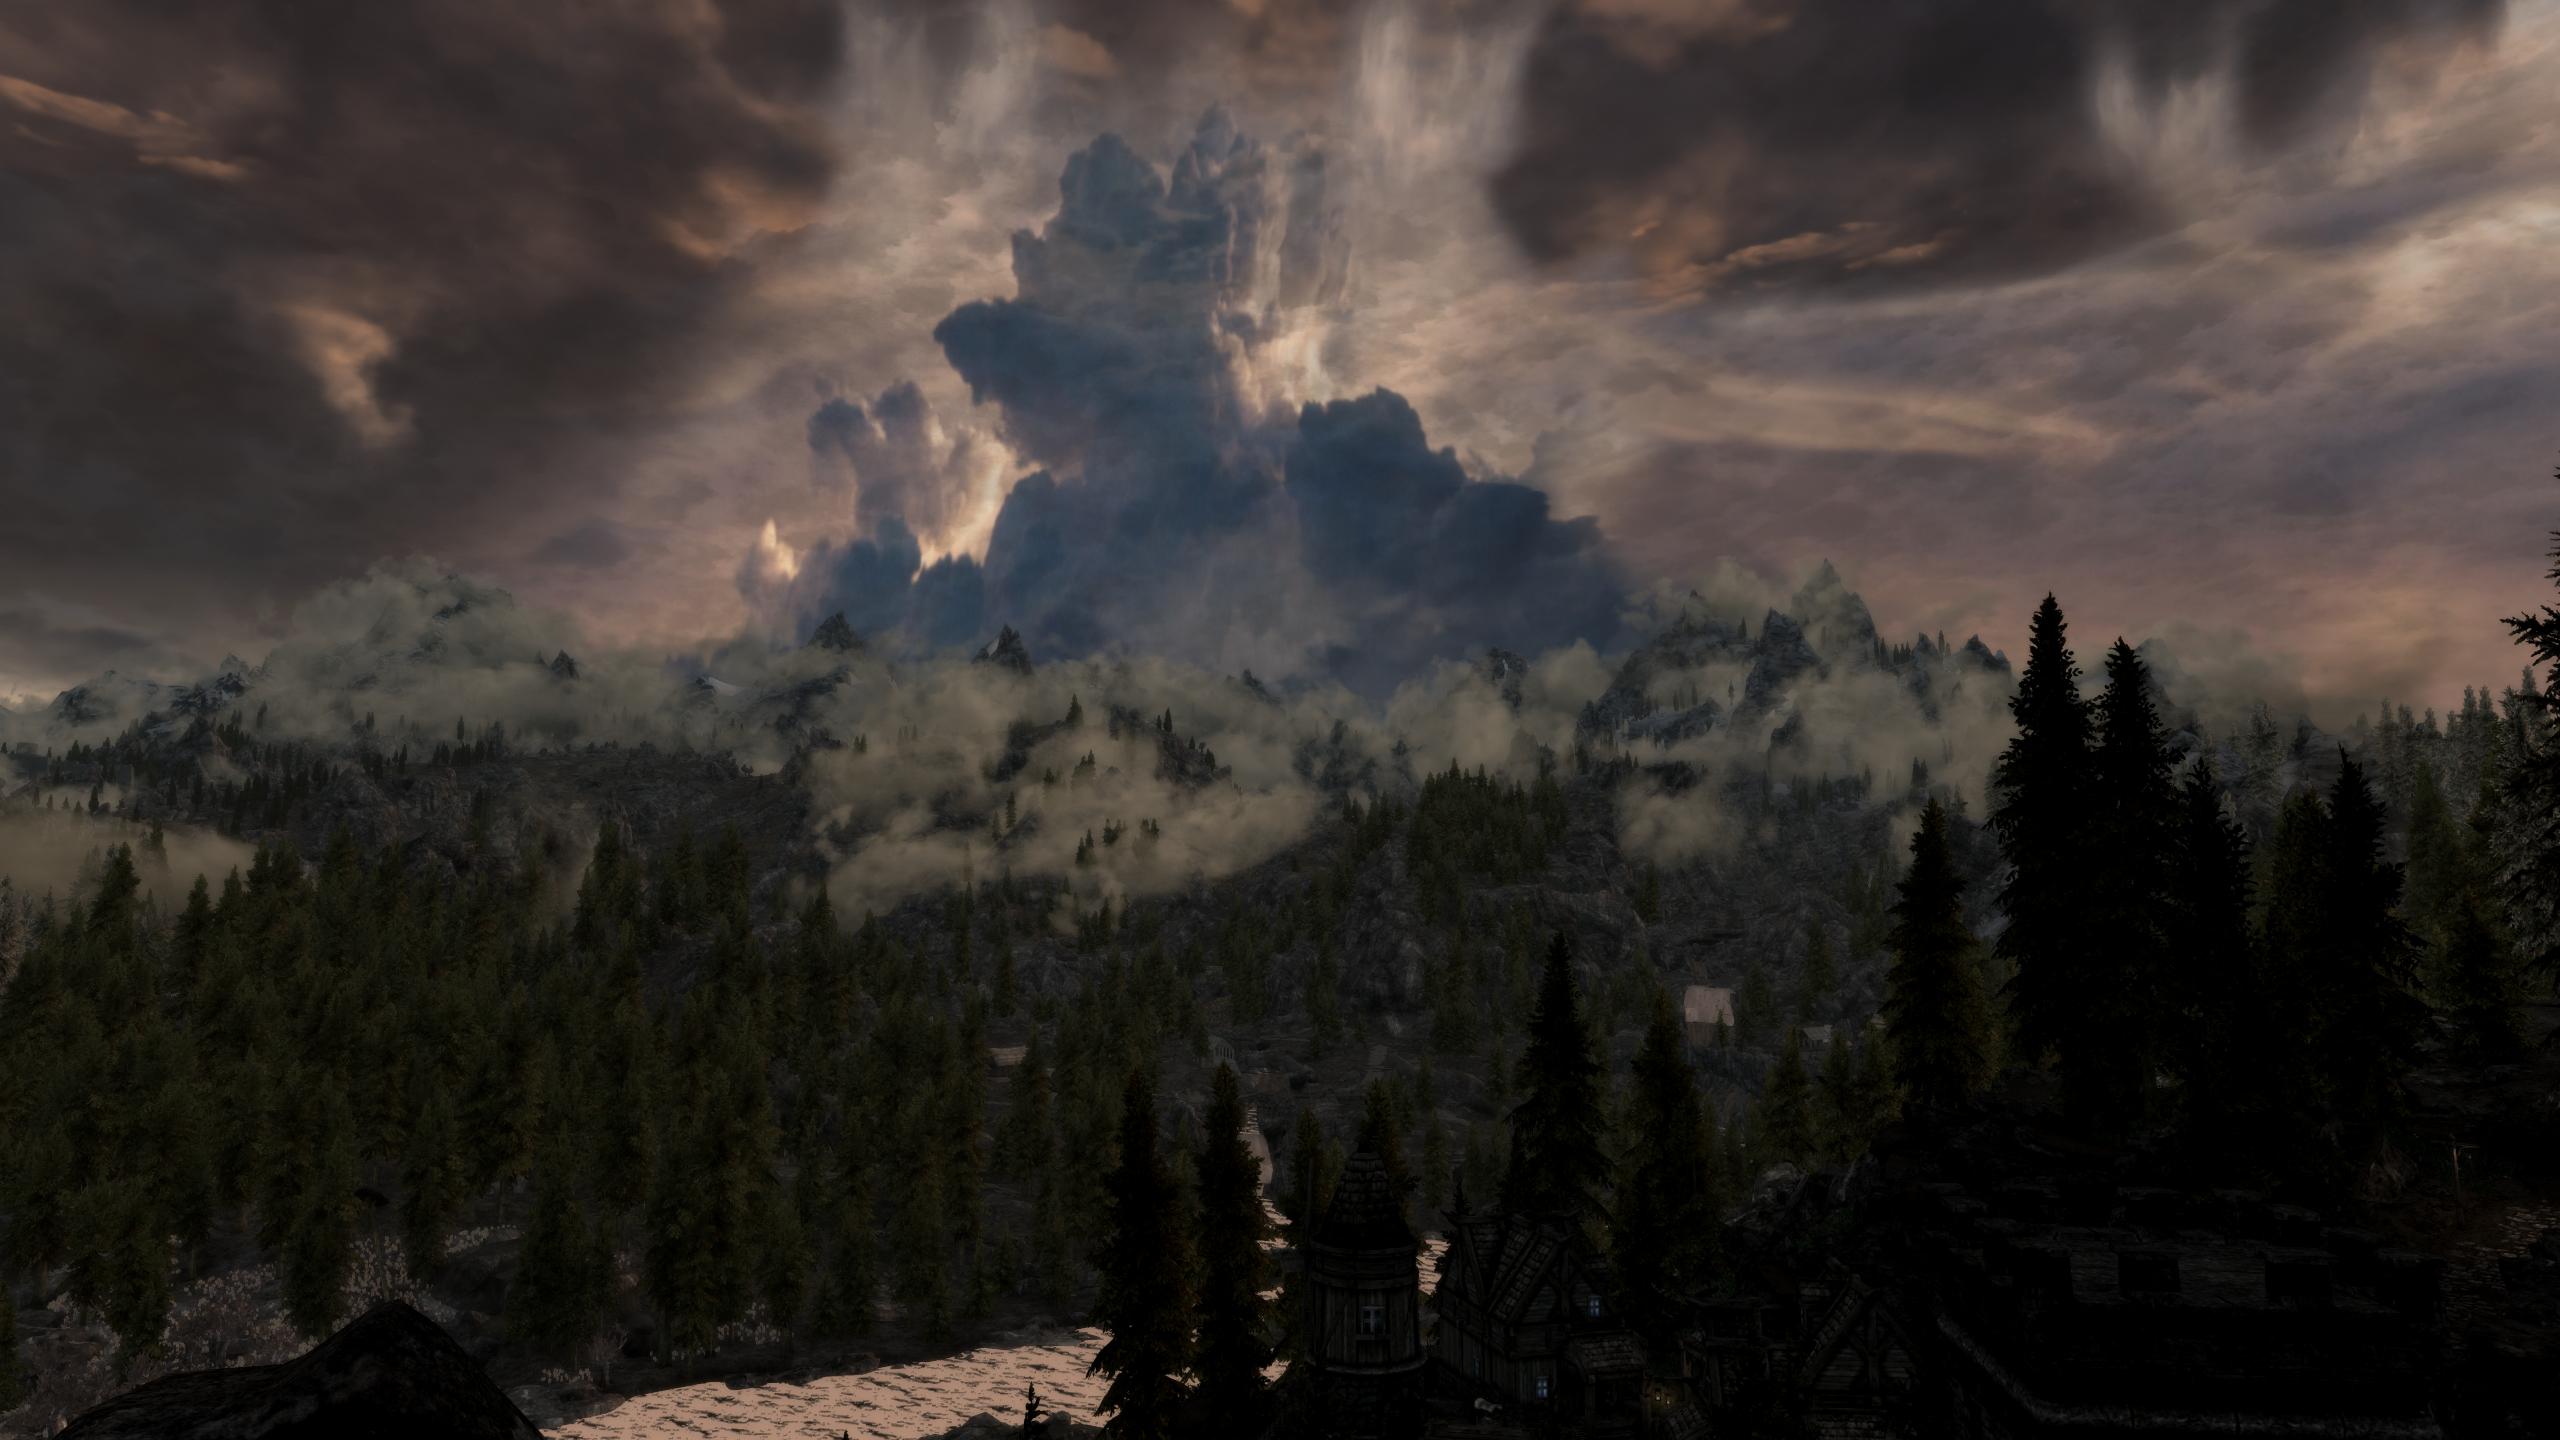
No worries. I will trust you guys. Just mentioning that the screens were all far distance and that there may be more to it than that. Vanilla Mountains undoubtedly has the better normals anyway. -
Does anyone know if his reason is drama or marketing strategy (i.e., planning on re-establishing his account under a different name, etc)? Oh well. Those mods should be removed from STEP then.
-
Wiki capitalizes the first letter of every page and adds an underscore for any space in the URL, so the wiki user name should be either (try both): Crazy_San Crazy San
-
DROPPED Terrain Bump - Texture Pack (by SparrowPrince)
z929669 replied to z929669's topic in Skyrim LE Mods
If 'slabs' means mountains and rocks, I agree that some of the snow appearance is lost, but this may also be an improvement when considering the distance. In reality, you lose fine detail at great distance, so if they look better in close to mid distance, then that would be a good reason to retain. Note: distance factor is inflated in Skyrim to give the illusion of larger distances, which should scale with time anyway. -
Low Quality Textures Close Up Vanilla
z929669 replied to DepartedCitizen-00003's question in General Skyrim LE Support
Just install according to the STEP mod page -
Dynamic Distant Objects LOD - pre 2.xx
z929669 replied to sheson's question in DynDOLOD & xLODGen Support
OK, will do ... thanks for this! -
Low Quality Textures Close Up Vanilla
z929669 replied to DepartedCitizen-00003's question in General Skyrim LE Support
"Argonian tail twist fix" used to be a mod, but I think the USKP fixes the issue, so this goes back to proper setup of Steam/Skyrim/MO and proper installation of mods. -
Dynamic Distant Objects LOD - pre 2.xx
z929669 replied to sheson's question in DynDOLOD & xLODGen Support
Video is great for some, but I prefer instructions in words ... is there a mod page for this or some other source for implementing with text instructions? If not, I will labor through the video ... -
SKYRIMLE Actual Windows - Farmhouses by (Majk360)
z929669 replied to TechAngel85's topic in Skyrim LE Mods
That is what I thought ... it seems like this one needs to develop further so that all windows are affected for the sake of consistency. There are also the transparency issues and other tweaks that the user community will invoke as the mod develops (if it even develops to completion) -
SKYRIMLE Actual Windows - Farmhouses by (Majk360)
z929669 replied to TechAngel85's topic in Skyrim LE Mods
How does this affect Visible Windows? Since this is only farmhouses, it seems premature. It might be best to see what all of the conflicts will entail to avoid complexities or evolving incompatibilities. -
Fixed links in OP
-
DROPPED Terrain Bump - Texture Pack (by SparrowPrince)
z929669 replied to z929669's topic in Skyrim LE Mods
All mountains get those normals, so you can look at the mountain just behind Windhelm while you are standing on the bridge if you want. -
DROPPED Terrain Bump - Texture Pack (by SparrowPrince)
z929669 replied to z929669's topic in Skyrim LE Mods
They were hidden because they were too bumpy ;) The icicles should be totally fixed and no zebra striping (that was the bumpiness effect). My bet is that they are totally fine now. Icicle replaces the vanilla HR normal, and mountains replace the Vanilla Mountains normals, which are probably better, since they should be uncompressed (the new TB mountains and icicle are DXT format now and are the only compressed textures in the package). I just don't have a solid block of time right now to test and get the screens. -
SKYRIMLE Skyrim.exe - The Way It Should Have Been by Kahenraz
z929669 replied to Kahenraz's topic in Skyrim LE Mods
I just ran it, and it has bugs with the mouse. It mostly works, but I lost my mouse momentarily when testing with Alt+Enter and Alt+Tab, but then I got it back. When I clicked inside my Skyrim window, the windows mouse changed to the two-headed resize Windows cursor overlaying my Skyrim crosshair. Alt+Tabbing a few times to refocus Skyrim back and forth with the windows mouse cursor reproduced this issue about 50% of the time. The Windows mouse cursor is definitely a little flickery and does not dependably transition. Finally, upon recapturing Skyrim and attempting to quit the game from windowed mode, I lost my cursor totally as Skyrim was closing and could not get it back. The windows mouse cursor was active but invisible. It would pop up on certain parts of my screen, but Windows locked up when I tried to restart using my invisible mouse cursor. Then my session froze and I had to force a restart. I rebooted from the 'dirty' reset and ran the original version after to be sure I wasn't imagining things (I wasn't). Note also that I did run both instances using their separate resources, and I noticed that the new version has an extra DLL. In other words, I am certain that I installed the correct files into their correct location for both versions without any conflicts (i.e., I did not muck it up ... there is some issue with the latest 'beta'). -
DROPPED Terrain Bump - Texture Pack (by SparrowPrince)
z929669 replied to z929669's topic in Skyrim LE Mods
True. I did look at the textures though, and they are much reduced in the bumpiness area. It is true that they should first be tested, so I will make sure the wiki remains status quo. Can anybody look at the diffs in 2.2.9? -
FYI (all contributors on this thread) We host a Murmur voice coms server here on STEP (Google Mumble client). It seems like some of you might benefit by jumping on and talking over --in real time-- some of what has been discussed on this thread (e.g., modular fx format ... great idea, BTW ... I love standardization!). This way, you all can arrive at a consensus much faster and clear up any previous miscommunications. The voice server is always up, and we use it occasionally, but there is plenty of room to host up to 20 connections at any given time. If any of you want to jump on and discuss some things and avoid typing, yada, yada, Tech or one of the STEP Staff or admins can provide connection details via PM (standard connection, Tech et al, no password please, as this is associated with elevated permissions). Our voice chat is standing by for these purposes. We have found it to be much more efficient than posting or text chatting ... and it is always nice to 'meet' people you know in the modding scene for the first time, as it enhances the collaborative spirit ;) I have done a lot of work with enbseries.ini as well, and I wish I could contribute more, but my time is way too scattered right now with site maintenance and RL to commit right now.
-
DROPPED Terrain Bump - Texture Pack (by SparrowPrince)
z929669 replied to z929669's topic in Skyrim LE Mods
Sparrow may have removed it in his latest update. I will need to check against the versions I first uploaded. EDIT: No, all the files are there, including icicle_n.dds; however, the path was wrong ... fixed: textures\landscape\roads\icicle_n.dds to: textures\landscape\icicle_n.dds UPDATE: v1.4d actually has 'fixed' mountain and icicle normals (Sparrow must have noticed we were excluding them in STEP and understood that they were too bumpy). Therefore, the whole mod can be used now. Mod page updated on the wiki. -
Can DDSopt optimized textures be redistributed?
z929669 replied to acindron's question in DDSopt Support
We are planning on doing just that ... yes, it is officially legal now to publicly share any altered Beth assets as long as credit is given to Beth. each mod author would need to authorize though -
Oblivion ignoring MO after another problem "solved"
z929669 replied to OH72's question in Mod Organizer Support
Please use the "marke solved" button when support questions are answered. -
Better Conflict Discovery Project
z929669 replied to fireundubh's question in Other Utilities Support
Thanks for providing this tool -
that is my other problem with Headertabs. It forces large edits, and it is more tedious to navigate back to the point of interest after saving
-
I do really big edits in TextPad, otherwise, I try to edit pages by heading.
-
It certainly blocks the edit saver (me) from navigating the wiki though, even in another browser tab, and I would wager even a whole other browser. Try it. Just refresh the guide and try to navigate the wiki. EDIT: I just tried it, and it was way too fast for me to test anything It must be the time of day (night). It is never that fast in peak hours.
-
Improving Conflict Detection by Removing Duplicates
z929669 replied to fireundubh's question in Mod Organizer Support
Packs? No, the STEP Guide. I don't even help with Packs. We are far too consumed with maintaining the site and testing mods for STEP (when I can). Most conflicts are texture conflicts, so nothing serious can happen with that other than a borked game asset. Then you just use Mfg Console to determine the source. You are a mod author and are looking to run a bunch of mods together in a single go it sounds like. I do it more slowly and repetitively I guess, one mod at a time. Just knowing the mod you are installing tells you most of what you need to look out for and what you don't want to be overridden. I am not saying the functionality you want is not reasonable ... I would really like to see it, actually. I am just saying that it is by no means essential, since we (I?) have been getting by without it since 2003 or so.
