sheson
-
Posts
13,340 -
Joined
-
Last visited
-
Days Won
443
11 Followers


sheson's Achievements
")
-
Read the links and quotes in this post https://stepmodifications.org/forum/topic/19903-dyndolod-300-alpha-198/page/733/#findComment-289048 NGIO is required to show full grass outside the active cells. The NGIO INI settings need to be used to control the full grass distance. Refer to its description, explanations in its INI, help forum/comments.
-
The DynDOLOD-Grass-Mode INI setting set to 1 or 2 overwrites the grass distance slider when starting the game. Changing the grass distance slider in the game overwrites the DynDOLOD-Grass-Mode until the game is restarted.
-
Read the first post and/or https://dyndolod.info/Official-DynDOLOD-Support-Forum#Post-Logs which DynDOLOD debug log to also upload when making posts. https://dyndolod.info/Help/Grass-LOD In the vanilla game full grass only renders in active exterior cells. No Grass In Objects can render full grass outside the active exterior cells in the LOD area. https://dyndolod.info/Help/Grass-LOD#Settings The settings file for No Grass in Objects is either ..\Data\NetScriptFramework\Plugins\GrassControl.config.txt or ..\Data\SKSE\Plugins\GrassControl.ini depending on the used version. The setting names are not equal, but very similar, in the GrassCtronl.ini dashes - are inserted. Below both are given separated by forward slash /. The GrassControl.ini is created by running the game once or can be downloaded from the optional files section. With No Grass In Objects full grass can be rendered past the active cells, so grass LOD can either start right beyond the active exterior cells (uGridsToLoad), which is better for performance - or beyond the large reference distance (uLargeRefLODGridSize). The DynDOLODGrassMode/DynDOLOD-Grass-Mode 1 or 2 setting controls the distance of full grass respectively to make sure it renders to the edge where the grass LOD starts. https://dyndolod.info/Help/Grass-LOD#Gap-between-full-grass-and-grass-LOD Grass LOD was generated with mode 2 but full grass is not being rendered to the edge of the uLargeRefLODGridSize with the DynDOLODGrassMode/DynDOLOD-Grass-Mode setting in No Grass In Objects as explained above in the section Settings. NGIO controls distances of full grass. See above and refer to its description/documentation. DynDOLOD does not affect full grass in any way. Near and Far Grid are distances for dynamic LOD. See https://dyndolod.info/Help/Dynamic-LOD None of the screenshots seem to show the second problem. If there is an area (cell) outside the active cell area inside the large reference grid that shows both full grass and LOD grass at the same time, report its cell coordinates. https://dyndolod.info/Help/Mod-Configuration-Menu-NG#You-Are-Here
-
If this error repeatable? Restart MO2 / PC. Doublecheck in MO2 right window Data tab that the NIF you uploaded is really the winning one in the load order. Also upload ..\Meshes\cotn\dawnstar\lod\dawnstarhouse06_lod.nif and C:\DynDOLOD\Logs\DynDOLOD_SSE_Object_Report.txt if it exists This is not related to LODGen. Also unrelated, but you probably want to run TexGen first to update the outdated billboards. See https://dyndolod.info/Messages/Billboard-For-Model-Does-Not-Contain-Texture
-
No to both questions.
-
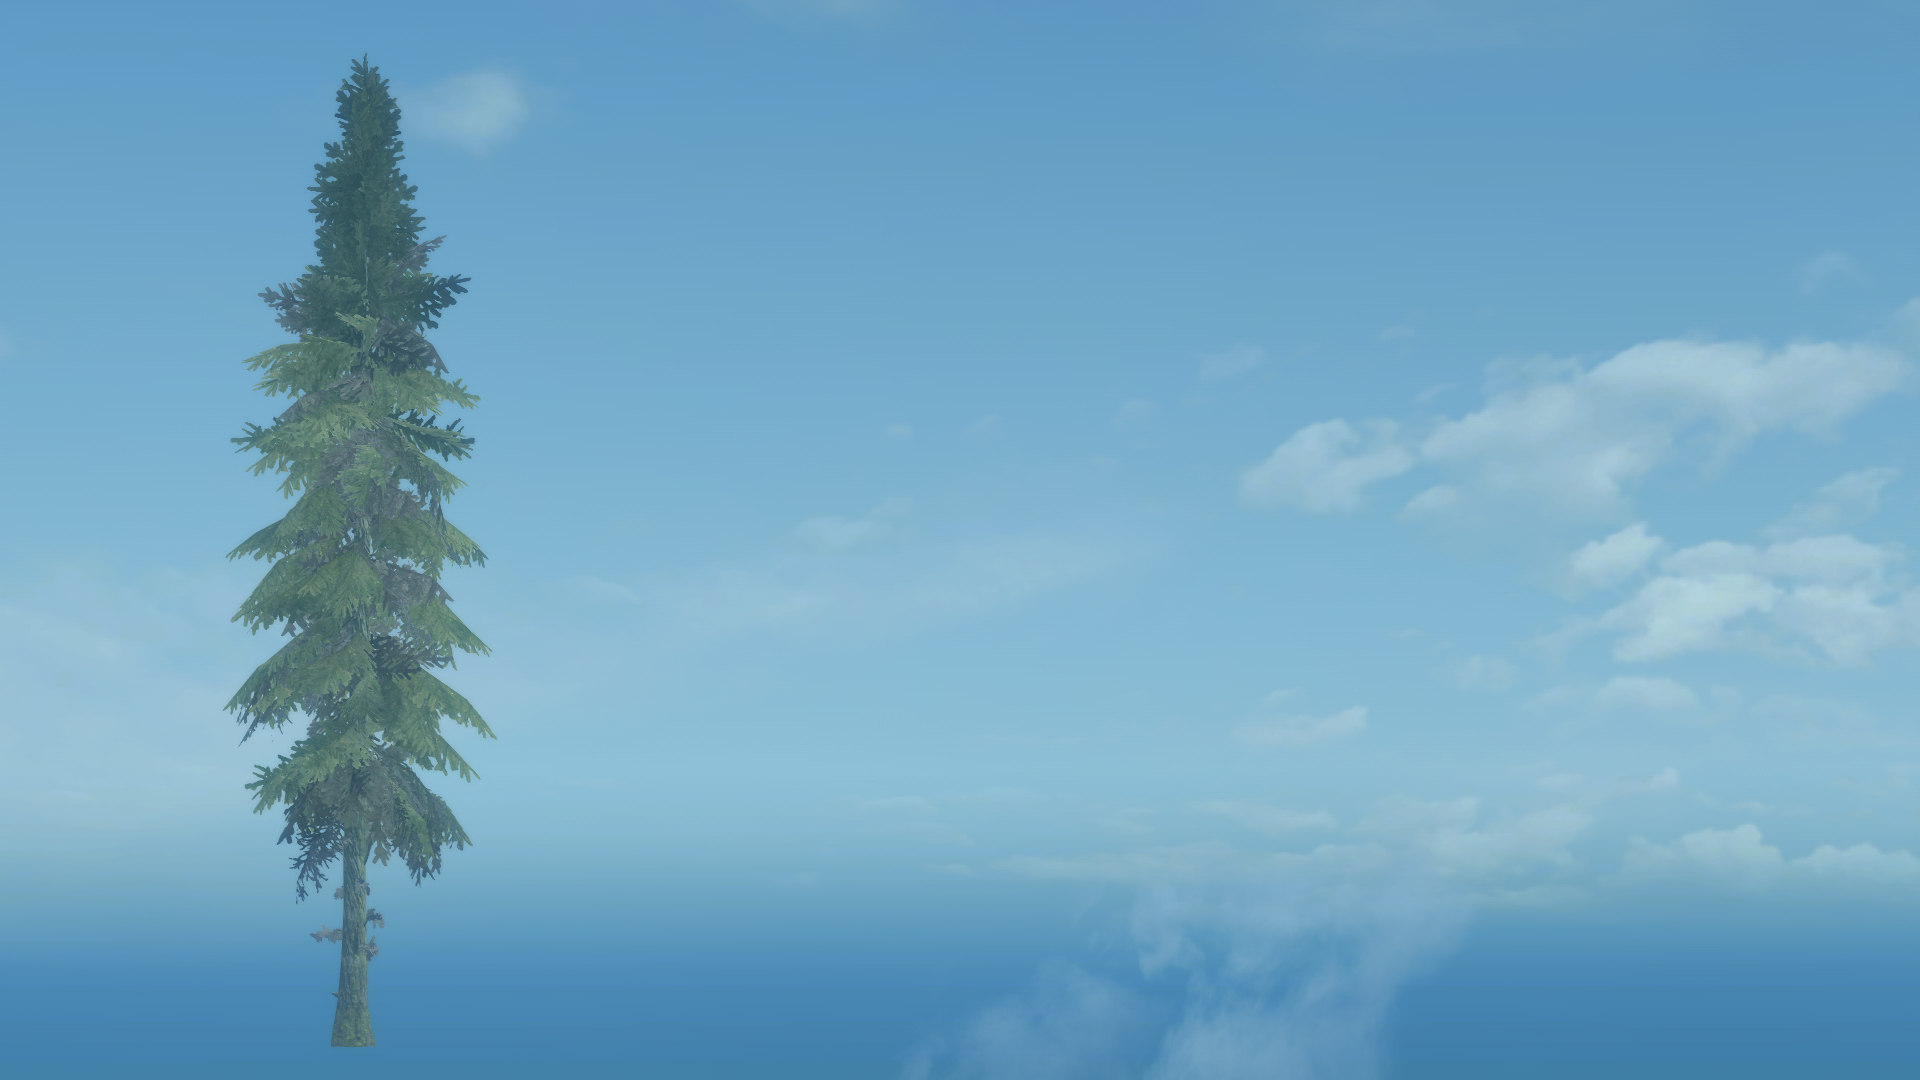
Looks more consistent. You could keep the "PineTree02_branches" that are attached to the bottom of the trunk in the trunk nif so they are rendered as part of the billboard. Visually negligible in this case, but probably good to keep in mind that this is a possibility for other trees with similar features that are more visually obvious.
-
LODGenx64.exe failed to generate object LOD for one or more worlds
sheson replied to nolbear's question in DynDOLOD & xLODGen Support
https://dyndolod.info/Help/Grass-LOD#Updating In case only the grass textures have been changed or different settings in TexGen are used, update the grass LOD billboards with TexGen, install the TexGen output, then start DynDOLOD in expert mode, select the desired worldspace and click the Rebuild Atlas button. Then merge the new output with the existing output, overwriting all older files. Changing the LOD textures only does affect meshes, so updating the meshes is not needed. -
The "fix" is already explained at https://dyndolod.info/Mods/Community-Shaders. If all you do is change the gamme setting in the TexGen and DynDOLOD INI, all you need to rerun is just TexGen and DynDOLOD. The default value of 1.3 has been reported by the CS community to match best leaving all other settings, also the LOD brightness sliders in CS UI at default. https://dyndolod.info/Generation-Instructions In case PGPatcher (aka ParallaxGen) is used, run it before TexGen and DynDOLOD, as they will use the information from its ParallaxGen_Diff.json file in the data folder to properly match certain LOD models. PGPatcher output should overwrite the full models included in DynDOLOD Resources. Leave the default setting of PGPatcher to ignore meshes in ..\LOD\.. folder. See Community-Shaders - PBR for more.
-
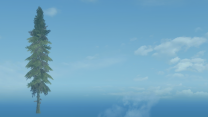
LOD does not support specular (which typically fades on the full model by distance). So the specular channel is removed from the normal map atlas texture by default. I believe the changes you see are due to the glowmap texture in the third slot, which works in conjunction with the softlighting flag. Here is what I see with the "original" 5DD19DB7 assets: Left image just full model with no LOD. Right image: full model, full model used for LOD with full textures, 3D tree LOD model with object LOD atlas texture, Billboard4 This is from a distance without shadows applied. Time is close to noon, sun from top. Here are (hopefully all) the files relevant to this test. https://mega.nz/file/FMYQEDoL#aBwtWDui4eRebrXEsIImdjlB5QUTxXIIP8hY5II9U6E The normal vectors of the triangles on top mostly point to the sides, so they appear darker then the lower triangles in the middle/bottom which have more normal vectors pointing more upwards. All in all, the LOD matches the full model. If you want the top to not be so dark compared to the rest, I suggest to first work on the normal vectors of the full model to be more consistent.

-
LODGenx64.exe failed to generate object LOD for one or more worlds
sheson replied to nolbear's question in DynDOLOD & xLODGen Support
No logs were provided, only a meaningless screenshot of meshes, skse, texture folders and the DynDOLOD and Occlusion plugins and a DynDOLOD_SWAP.ini. Suggestions and requests are being ignored. It is unclear what the problem is. The DynDOLOD plugins and SWAP file are generated when generating the LOD patch. The entire LOD patch should be generated in one go. Unless the actual problem is solved, it is likely that whatever it is you are doing is not going to work properly or have issues in the game. It seems the requirements to use DynDOLOD are not met. See https://dyndolod.info/Updating#New-or-Updated-Mods-or-Plugins how to update existing output. Do not check the object LOD checkbox to not generate object LOD. See https://dyndolod.info/Help/Advanced-Mode#Object-LOD -
Read the first post and/or https://dyndolod.info/Official-DynDOLOD-Support-Forum#Post-Logs which TexGen and DynDOLOD log and debug log to upload when making posts. Also upload ..\Logs\DynDOLOD_SSE_Object_Report.txt Make a useful screenshot of a full model that has LOD representation with wrong LOD textures with more informative console as explained in https://dyndolod.info/Official-DynDOLOD-Support-Forum#In-Game-Screenshots When everything is done and works correctly, then (most) of the object LOD should use LOD textures that were updated from the full textures by TexGen. They should simply match. Based on a hunch, see https://dyndolod.info/Mods/Community-Shaders#PBR: TexGen and DynDOLOD will both automatically create linear texture versions of the LOD textures for object and tree LOD in case the full model uses PBR textures. The gamma for the conversion can be adjusted by changing sRGBGamma=1.3 in ..\DynDOLOD\Edit Scripts\DynDOLOD\[TexGen|DynDOLOD]_[GAME MODE].INI. Use lower values to darken the LOD textures derived form the PBR textures. Gamma values around 1.3 have been found to work well.
-
The normal vectors in the provided full and LOD model and then the generated BTO all appear to be equal. So that all works as it should. When looking at the full model in game, disable shadows and AO or go further away with tfc and use fov to zoom in again until those effects are not applied anymore. If you could upload the used diffuse/normal map texture and the SRG_treepineforest02_5DD19DB7_trunk.nif I could do some in-game tests tomorrow.
-
You edit an existing export file like C:\Modding\Tools\DynDOLOD\Edit Scripts\Export\LODGen_SSE_Export_Tamriel.txt to only contain a single line for the tree you want. First column is form ID. Column 3, 4, 5 position, Column 6, 7 ,8 rotation. 9 is scale. Set all 3 rotation to 0.0. Then Execute LODGen in expert mode for Specific Chunk 4. See https://dyndolod.info/Help/Expert-Mode. Now you can open all models and BTO in NifSkope. The normal vector for a vertex of that one tree in the BTO should have very similar values to the same vertex in the LOD/full model. If you were to provide a useful screenshot of a full model with more informative console as requested or a base record form ID for a tree to verify, then I could look up the used full model and LOD model and their CRC32 in the DynDOLOD_SSE_Object_Report.txt to check things based on the mods provided.
-
Verify that the normal vectors, tangents, bi-tangents of the used full model in the game and the LOD models used by DynDOLOD are the same. While you are at it, make sure the UV is inside 0.0 and 1.0 and/or the clamp mode is CLAMP_S_CLAMP_T for LOD models that do not have "noreuv" or "noatlas" in the shape names. If all that is the case, then check the BTOs. It only makes sense to do that for LOD models that neither have "fixednormals" or "spherenormals" in the shape names.
-
The log is from the release version. Download TexGenx64.exe from https://dyndolod.info/Downloads/Test-Versions and replace the one in D:\DynDOLOD\TexGenx64.exe. Delete all old logs.