NoMansSky:Adding or Replacing Audio

Adding Replacing Audio
by: Z929669
Getting Started
Before you begin you'll need the following:
- PSARC Tool
- Monkeyman's BNK Compiler
- Python version 3.2 and above
- Wwise version 2016.1.2.5863 and above
Optional:
- Divinity Sound Converter (To convert WEMs into oggs if you'd like to preview the sounds)
Unpacking Audio
The first step before replacing any audio file is to unpack them.
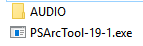
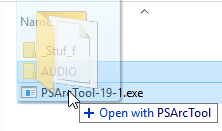
If you haven't already unpacked the whole game you can unpack just the sound files by decompressing 2 .pak files. Indeed all the audiio files are stored in NMSARC.5B11B94C.pak and NMSARC.761ACED1.pak. You can easily unpack them by dragging these .pak files onto the PSARCTool executable.
Once the unpack operation is completed, you will end with a MUSIC folder and an AUDIO one and this AUDIO folder is the one we need.

Finding Which Sounds to Replace
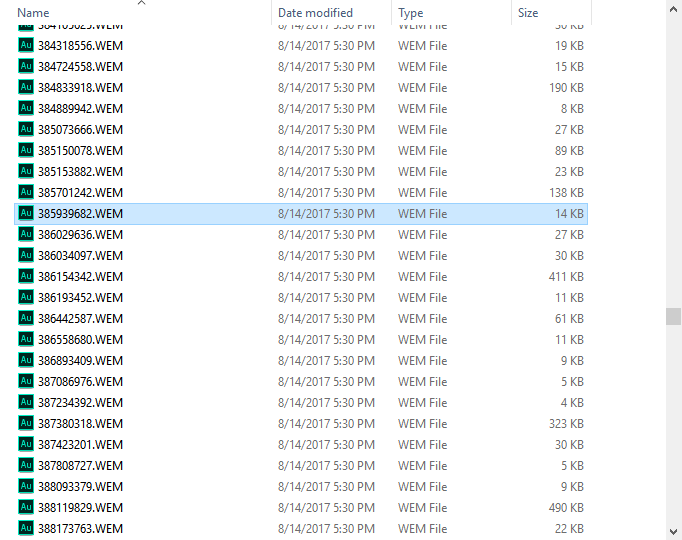
Once you have your files unpacked, you must find the correct IDs for the files you want to replace. One way is to open the .xml file for the .BNK file of the same name. For this tutorial we'll try to replace sounds from the NMS_AUDIO_PERSISTENT.BNK (this will be where the majority of sounds you'll want to replace will be). So we open NMS_AUDIO_PERSISTENT.xml in the text editor of choice and use the search feature to locate a sound. In this case we'll choose the weapon melee sound (Wpn_Pl_Melee). Below is an example:
<File Id="385939682" Language="SFX>
<ShortName>Weapons/Wpn_Pl_Melee_01.wav</ShortName>
<Path>SFX/Weapons/Wpn_Pl_Melee_01_9344E057.wem</Path>
</File>

The File Id is what we need to find our sound file. Also note that NMS uses various sounds and cycles through them so in order to fully replace a sound you must replace each one. For this example there are 9 melee sounds (01 - 09). Once you have taken note of the ID's for each sound, you will need to find out if they are Streamed or Included. You can figure this out by searching for the ID's in your unpacked AUDIO folder. If the ID's aren't found in the folder then they will be Included, which means they are inside of a BNK file. In our case the ID "385939682" was found inside of our AUDIO folder so it is a Streamed sound.
Extracting Included Sounds
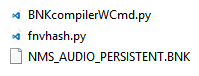
Included sounds are sounds that exist within a Wwise soundbank (.BNK file). In order to replace these you need to extract the sounds using Monkeyman's BNK Compiler. Begin by extracting the provided .zip which contains 2 python scripts (BNKcompilerWCmd.py and fnvhash.py). Once extracted, copy the .BNK of the sound you want to edit into the same directory.
Now open a Command Prompt in that directory and run the script with the params as follows:
python BNKcompilerWCmd.py {BNK name(no extension)}
 {Source Path} {Output Path} {Mode(extract/recompile)}

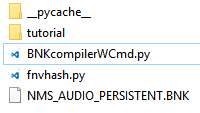
In this case I ran python BNKcompilerWCmd.py NMS_AUDIO_PERSISTENT ./tutorial ./tutorial extract. Your directory should now look like the example below. Inside your specified Output Path will be all the sounds contained in the provided .BNK file.
Converting to WEM
Now that you have found the files you want to replace you will need to create the new sounds.
All sounds will nned to be in .WEM format and we achieve this by using Wwise.
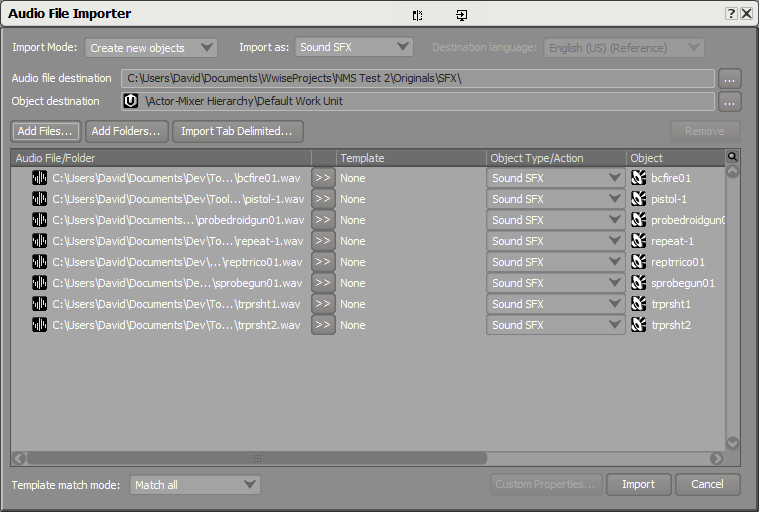
First create a Project in Wwise. Then, import all the sounds you want converted into a Wwise project. These sounds will have to be .wav files so you might need to convert them first in this format if they're not already.
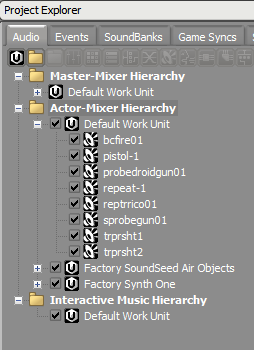
Once imported, your files will appear inside your project explorer.
To get proper .WEM files, it's important to change the format from the default PCM into vorbis in the conversion settings :

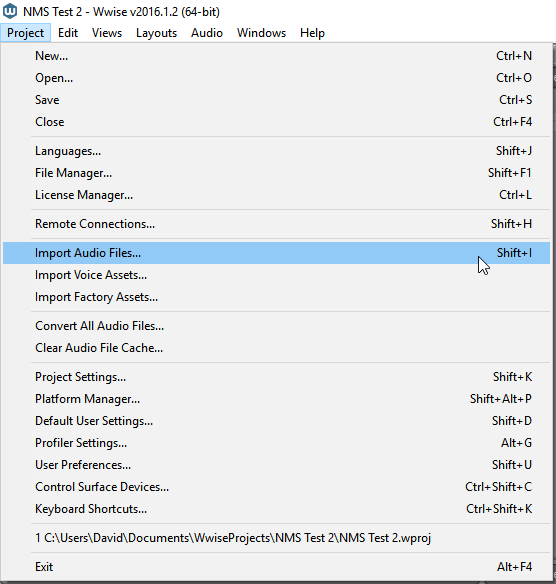
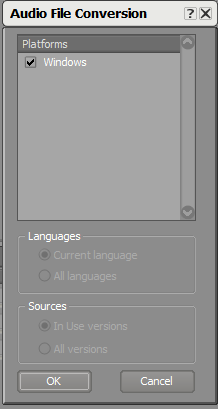
Then go to the Project menu and click on Convert All Audio Files... and hit Ok once the window appears.

Once the conversion is complete, you will find your WEM files in "Documents/WwiseProjects/{Project Name}/.cache/Windows/SFX".
Replacing The Sounds
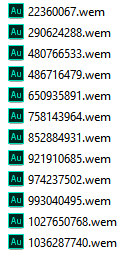
Now that all your sounds are converted into .wem files, you'll need to rename them to the same IDs we collected earlier.
Each of your sounds should match the ID of the sound you are trying to replace. This is very important for Included files are there is no way to currently add new sounds and this can mess up your mod if you try to.
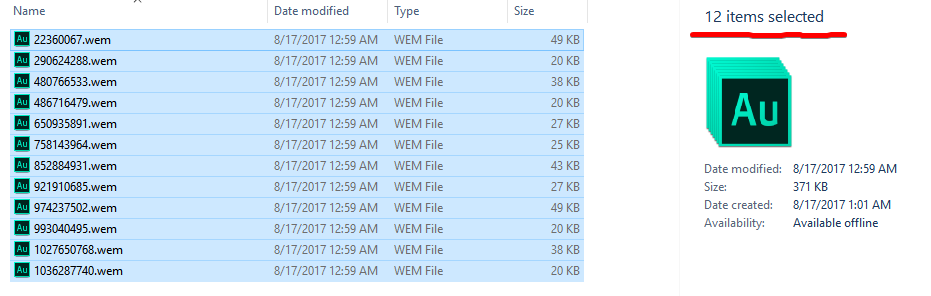
Once you have renamed your .WEM files, you need to return to your directory with the Python scripts. Copy all of your files into the Output Path you've specified. Please note the amount of files being replaced should match the total files you're copying over.

Once the files have been replaced you will run the python script again except this time with the recompile parameter.
Example:python BNKcompilerWCmd.py NMS_AUDIO_PERSISTENT ./tutorial ./tutorial recompile
This will recompile the .BNK file and make it ready to be packed.
Packing the Mod
Once you have your new .WEM files (for streamed sounds) or recompiled .BNK files (for included sounds), you are ready to pack your mod.
Create a new folder called AUDIO and another folder named WINDOWS into the AUDIO one.
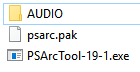
Then copy all your .WEM files or .BNK files into the WINDOWS folder. Then drag the entire AUDIO folder onto the PSARCTool and it will pack it up into a psarc.pak file.
Once this is finished you can rename it as you wish and place it in your Mods folder to test.