User:Fenris95/FO4 - My Personal Setup: Difference between revisions
No edit summary |
No edit summary |
||
| Line 276: | Line 276: | ||
|MAIN=Unofficial Fallout 4 Patch}} | |MAIN=Unofficial Fallout 4 Patch}} | ||
'''Description''' : "A comprehensive bugfixing mod for Fallout 4. The goal of the Unofficial Fallout 4 Patch (aka UFO4P) is to eventually fix every bug with Fallout 4 not officially resolved by the developers to the limits of the Creation Kit and community-developed tools, in one easy-to-install package." | '''Description''' : "A comprehensive bugfixing mod for Fallout 4. The goal of the Unofficial Fallout 4 Patch (aka UFO4P) is to eventually fix every bug with Fallout 4 not officially resolved by the developers to the limits of the Creation Kit and community-developed tools, in one easy-to-install package." | ||
}} | |||
==== Achievements ==== | |||
{{User:Kesta/ModInstructions | |||
|Achievements|http://www.nexusmods.com/fallout4/mods/12465/?|1.0.4|Expired6978 | |||
|{{User:Kesta/NexusDownload | |||
|name=Files to download | |||
|MAIN=Achievements v1-0-4}} | |||
'''Description''' : "Uses F4SE to re-enable achievements while mods are active." | |||
}} | |||
==== Dead Body Collision ==== | |||
{{User:Kesta/ModInstructions | |||
|Dead Body Collision|http://www.nexusmods.com/fallout4/mods/2570/?|1.0|MadAce | |||
|{{User:Kesta/NexusDownload | |||
|name=Files to download | |||
|MAIN=DeadBodyCollision}} | |||
'''Description''' : "This mod will make actors collide with dead bodies, a.k.a. ragdolls, so you can push them, climb on them, etc...and won't just clip through them." | |||
}} | |||
==== Realistic Death Physics - No Animations ==== | |||
{{User:Kesta/ModInstructions | |||
|Realistic Death Physics - No Animations|http://www.nexusmods.com/fallout4/mods/4371/?|1.2|mm137 | |||
|{{User:Kesta/NexusDownload | |||
|name=Files to download | |||
|MAIN=Realistic Death Physics - ALL DLC version.}} | |||
'''Description''' : "This mod decreases the amount of force of both melee and ranged attacks (especially crits) to more realistic levels." | |||
}} | }} | ||
Revision as of 04:29, May 27, 2017
Fenris' Personal Mod Guide / Setup
Because I'm gonna forget what to install in a year or two.
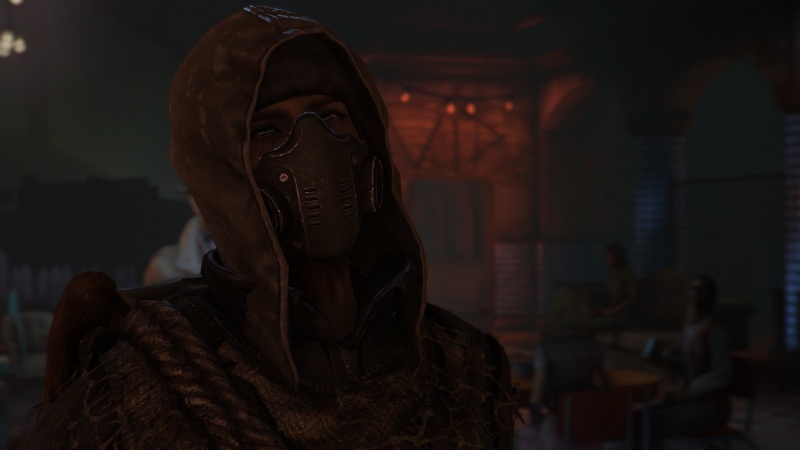
Title: Waiting on that part of my brain to come up with something decent.
Game
- Fallout 4 v1.9.4.0
DLC Required
- Wasteland Workshop
- Automatron
- Far Harbour
- Contraptions Workshop
- Vault-Tec Workshop
- Nuka-World
Introduction
If you're following this guide I'm going to make an ass of you and me and assume that you know what you're doing when it comes to modding Bethesda games.
I'll do my best to have the mods here ordered in a way that makes sense, though my usual install methodology is to go down the list of the top 100 mods and install them one after the other.
I tend to favor lore friendly mods that spice up the visuals, as well as grabbing as many lore friendly weapon and armour mods as I can fit into a load order.
I'll include reminders to run LOOT and to check that your game isn't derping out after each section.
Here's my PC's config if you're into that sort of thing, it's probably worth mentioning that this guide will favor high fidelity over FPS, with little to no compromises:
- CPU: Intel Core i5 4670K @ 4.2Ghz
- GPU: MSI GeForce GTX 980Ti @ 1440Mhz / 7Ghz
- RAM: 16GB Corsair Vengeance 1600Mhz CL9
- Mobo: MSI Z87-GD65 Gaming Motherboard
- SSDs: 2x Kingston HyperX 120GB RAID0
Using Kesta's flares and fancy mod sections until I figure out how to do it myself.
Getting Started
First things first: Install the game
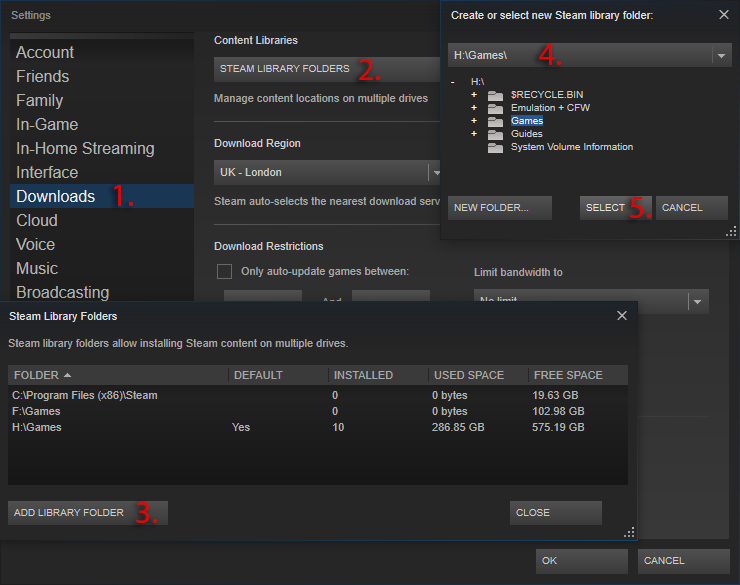
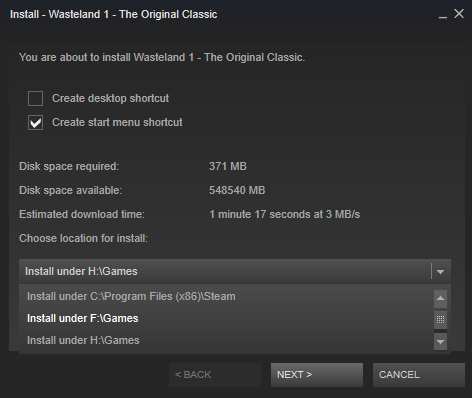
Whether via steam or some other platform, it's usually a good idea to install the game to a directory that isn't Steam's default.
That is to say, anywhere that isn't either C:\Program Files or C:\Program Files (x86).
Below is a small walkthrough of how to set up a secondary install location in Steam.
If you have a second hard drive or an SSD just for games, then you have no doubt done this already.
Drivers & Applications
Whilst the game is downloading, this is the perfect time to prepare the other applications that we're going to use.
Update your graphics card drivers
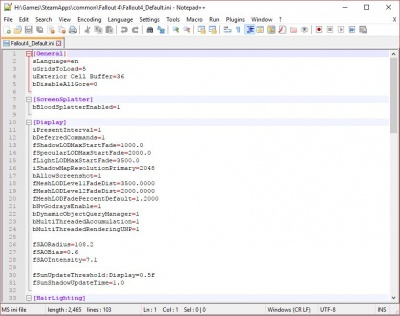
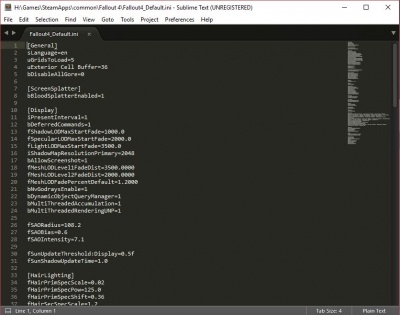
Choose a text editing program
There are a few choices here, the main two being Notepad++ and Sublime Text 3.
Once you have chosen a text editor you should set it as the default program to open both .ini and .txt files.
To do this go to your Fallout 4 directory and right click an ini file such as Fallout4_Default.ini, then select Open With > Choose another app.
Ensure that Always use this app to open .ini files is ticked, then scroll down the list and click More apps > Look for another app on this PC.
Point Windows to the editor's executable file.
For Notepad++ this is a file named notepad++.exe located in C:\Program Files (x86)\Notepad++
For Sublime Text this is a file named sublime_text.exe located in C:\Program Files\Sublime Text 3
Repeat this process for .txt files as well.
Next, install an archiving program like WinRAR
I've been using WinRAR forever, so it's just what I'm familiar with. It's available in 32bit and 64bit versions.
Another option is 7-zip, which is also available in 32bit and 64bit flavors.
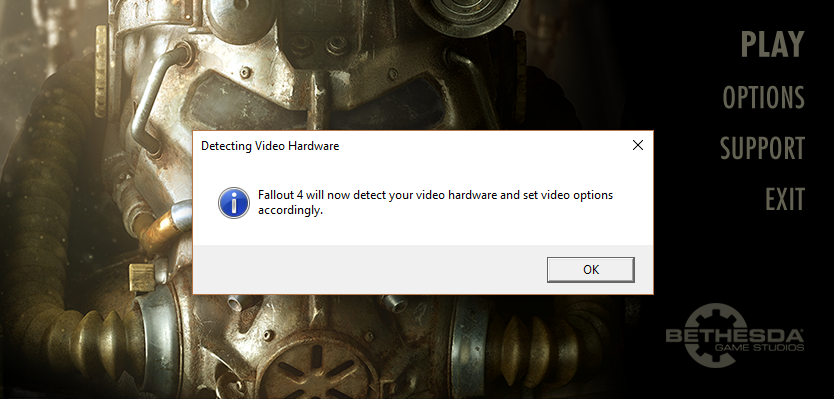
Run the game for the first time
This will set up the necessary registry entries and will create two files in your documents inside of \Documents\My Games\Fallout4
- Fallout4.ini
- Fallout4Prefs.ini
Go to the Options menu and click Advanced, then change the Godrays Quality option to either Medium or High. I'll be using Medium.
File:Fallout-4-god-rays-quality-performance-640px.png
There seems to be no difference aside from the FPS drop.
Nexus Mod Manager
Mod Organizer 2 has frustrating problems when installing a mod with multiple options, the menus simply don't work on some mod installers so you'll be stuck with the default settings.
This is quite a shame as Mod Organizer 2 is more feature complete then NMM, and I prefer it greatly. NMM will work fine for our purposes however until Mod Organizer 2 is fixed.
You can download Nexus Mod Manager from this link.
- Install Nexus Mod Manager and point it to your Fallout 4 install directory, create a folder on the same drive as your Fallout 4 install that will hold all of your mods.
- When you first select Fallout 4 as the game to use with NMM, it will ask where to install your mods, and where to keep the install info. Choose the folder on the same drive as your Fallout 4 install.
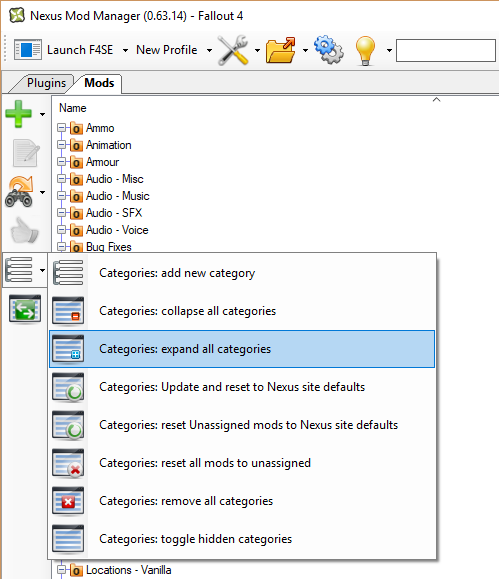
- Go to the mods tab and under Categories, click Categories: expand all categories, this will just make it easier to see the mods that you're going to be downloading.
Next you're going to need to log into Nexus Mod Manager using your Nexus account. This will enable you to download mods over 2MB through NMM.
LOOT
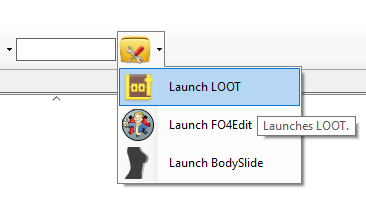
LOOT is a tool that automates load order optimization, it is also able to tell you if a mod has dirty edits and needs cleaning. You are able to run it through Nexus Mod Manager.
Installation :
|
FO4Edit
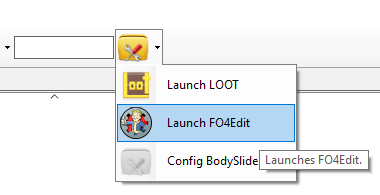
FO4Edit is a powerful tool that has a myriad of features. We'll be using it to automate the cleaning process of mods with dirty edits.
Here's a guide for using xEdit to clean your mods.
Installation :
|
INI Tweaks
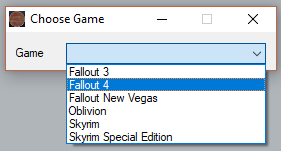
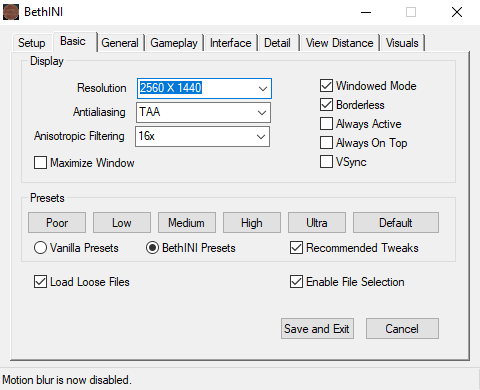
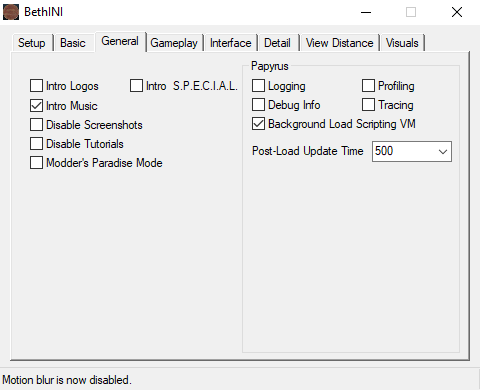
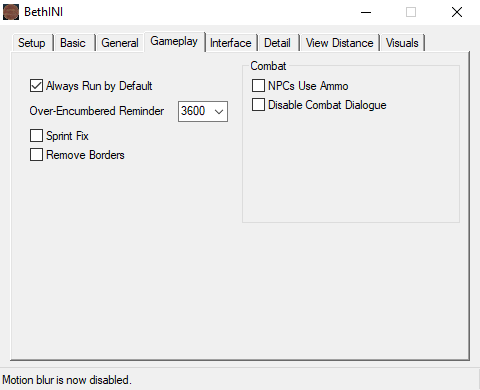
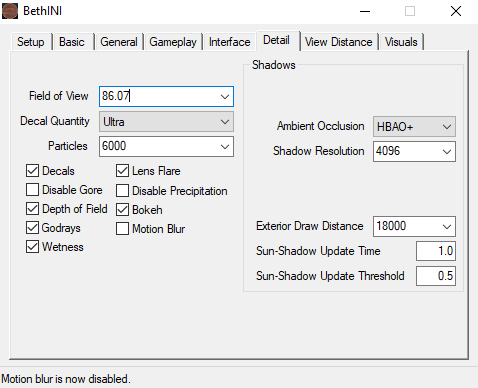
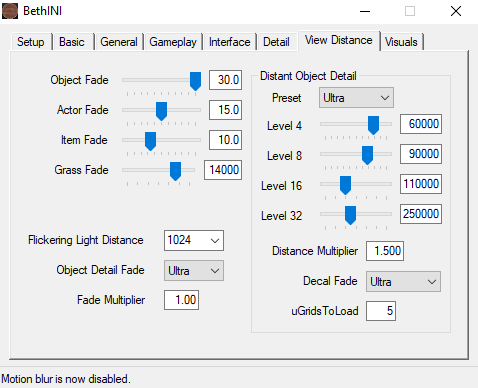
BethINI
Installation :
|
Manual Tweaks
Make a copy of 'Fallout4.ini' inside of \Documents\My Games\Fallout4 and name it 'Fallout4Custom.ini'; this is the file we will be editing.
Open Fallout4Custom.ini in your chosen text editor and scroll down to the [Interface] section. If you have played the game a lot before you can disable the tutorial messages by adding 'bShowTutorials=0' at the bottom of the section so that it looks like this:
[Interface]
fSafeZoneX=15.0
fSafeZoneXWide=64.0
fSafeZoneXWide16x10=64.0
fSafeZoneY=15.0
fSafeZoneYWide16x10=36.0
bShowTutorials=0
We're going to improve the readability of the in-game console by adding a new section underneath the [MapMenu] section.
Copy this text and add it underneath 'uLockedTerrainLOD=32' in the [MapMenu] section:
[Menu]
iConsoleSizeScreenPercent=65
iConsoleTextSize=16
rConsoleHistoryTextColor=153,160,153
rConsoleTextColor=255,255,255
rDebugTextColor=255,235,222
If you're interested in learning more about the different settings available in the .ini files, you can check out InsanePlumber's post here.
Extenders and Plugins
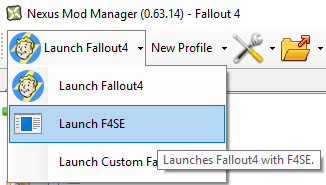
Fallout 4 Script Extender (F4SE)
This is an essential mod that continues the work from the Skyrim Script Extender.
Installation :
|
Shadow Boost
Shadow Boost dynamically controls the the shadow draw distance in Fallout 4 to attempt to keep you at a specified framerate.
Installation :
|
You can modify ShadowBoost.ini if you wish, however I find that the default settings work fine:
fTargetFramerate= - This setting determines your desired framerate, if you are playing with vsync or an fps lock enabled then be sure to keep it at least a couple fps lower than the maximum, otherwise the plugin won't increase the shadow draw distance when you reach that framerate.
fDistChangeSpeed= - This setting determines how quickly the shadow distance will change. The safe range is between 0.5 and 5.0.
fShadowDrawDistMin= - This setting determines the minimum distance that shadows will render.
fShadowDrawDistMax= - This setting determines the maximum distance that shadows will render. Users with lower-end PCs may want to reduce this setting.
Bug Fixes / Patches
For each of these mods, and the mods in each further section, the required files will usually be downloadable vie Nexus Mod Manager by simply pressing the 'Download With Manager' button in the files tab of the mod.
The file or files to download will be specified as being under either the Main Files or Optional Files section of the files tab.
- MAIN FILES - Main
- OPTIONAL FILES - Optional
Unofficial Fallout 4 Patch
Files to download :
Description : "A comprehensive bugfixing mod for Fallout 4. The goal of the Unofficial Fallout 4 Patch (aka UFO4P) is to eventually fix every bug with Fallout 4 not officially resolved by the developers to the limits of the Creation Kit and community-developed tools, in one easy-to-install package." |
Achievements
Files to download :
Description : "Uses F4SE to re-enable achievements while mods are active." |
Dead Body Collision
Files to download :
Description : "This mod will make actors collide with dead bodies, a.k.a. ragdolls, so you can push them, climb on them, etc...and won't just clip through them." |
Realistic Death Physics - No Animations
Files to download :
Description : "This mod decreases the amount of force of both melee and ranged attacks (especially crits) to more realistic levels." |


