See Mediawiki Manual:Collapsible_elements
Step Guide Tables
|
|
Mod Name
|
Baseline
|
Instructions
|
|
|
[ SkyUI (SE)]
|
|
|
|
|
SKSE64
|
|
Detailed Instructions available
|
Root Files Installation
- Download the "Current SE build" archive file.
- Open the archive and extract the following files to the Skyrim Special Edition root folder
..\Steam\steamapps\common\Skyrim Special Edition:
- skse64_X_X_X.dll
- skse64_loader.exe
- skse64_steam_loader.dll
- Keep this archive open for the next steps.
Data Files Installation
- Click on the
 button and select, [Create empty mod]. button and select, [Create empty mod].
- Name it
SKSE64.
- This places the new, empty mod at the bottom of the mod list.
- Enable SKSE64 in the MO left pane.
- Open the SKSE64 in Windows Explorer (Ctrl + double-click).
- Create a new folder named SKSE and open it.
INI File
- Within the SKSE folder, create a new file named SKSE.ini i.e.
..SKSE64\SKSE\SKSE.ini
- Open the new file and copy and paste the code in the box below, and save and close the file when finished.
[Display]
iTintTextureResolution=2048
[General]
ClearInvalidRegistrations=1
Scripts
- From the archive downloaded above, open the Data folder e.g.
SKSE64_x_x_x.7z/SKSE64_x_x_x/Data/
- Extract the scripts folder from the archive to the SKSE64 folder i.e.
..\SKSE64\scripts\.
- Close archive and Windows Explorer sessions.
Once complete, the SKSE64 mod's folder structure should be:
Launcher Configuration
Normally, MO should auto-detect that SKSE is installed upon a restart of the program, and it will auto-generate the SKSE game launcher. This should be used for launching Skyrim going forward. Below are some recommendations for further configuration of the SKSE launcher ... or, if for some reason MO fails to configure this. Please ensure the following is correct for SKSE:
- In MO, click the
 button at the top of the main Mod Organizer window. button at the top of the main Mod Organizer window.
- Over the left pane, click the [+] (add executable button) and select [Add from file...].
- Navigate to the skse64_loader.exe file (e.g.,
..\Steam\steamapps\common\Skyrim Special Edition\skse64_loader.exe).
- "SKSE" can be renamed for clarity, however, if this is done, MO will automatically create the "SKSE" launcher again and place it at bottom of the list.
- Use this executable to launch Skyrim SE going forward.
Reference Image:
|
|
|
[ SkyUI (SE)]
|
|
|
Example of collapsed rows within table
| My Mod Name 1
|
Detailed instructions available
|
| Detailed instructions
|
| aMidianBorn Book of Silence SE
|
Expand for instructions.
|
| A bunch of text
|
Generic mw-collapsible Examples
Caption
| Header 1
|
Header 2
|
| Data 1
|
Data 2
|
| The header |
remains visible
|
| This content |
is hidden
|
| at first |
load time
|
Example of collapsed rows within table
| My Mod Name 1 |
Baseline: 2k
|
| My big instructions 1
|
| aMidianBorn Book of Silence SE |
Expand for instructions.
|
Download the following files:
- aMidianBorn book of silence -- ARMORS
- aMidianBorn Book of Silence -- CREATURES
- aMidianBorn book of silence -- DRAGONBORN
- aMidianBorn book of silence -- UNIQUE ITEMS
- aMidianBorn book of silence -- WEAPONS
Users have two installation options with this mod and other mods like it. When multiple files are used from the same mod, users may either create a single mod listing and merge all files into it or create a separate mod listing for each file.
STEP Recommends: Merging all files into single mod listing named, aMidianBorn Book of Silence
 WARNING
Template:FOMOD_Instructions is deprecated and should no longer be used on this wiki. Please change this template call to use the better-looking and simpler Template:Fomod. We apologize for the inconvenience.
FOMOD Instructions
aMidianBorn Book of Silence ARMORS
|
Options
Options
Options
Options
 Custom Custom
Next Options
Options
Iron and Banded Iron and Banded
 Iron - Vanilla Cut Iron - Vanilla Cut
Steel Steel
 Steel Steel
Steel Plate Steel Plate
 Steel Plate Steel Plate
Leather Leather
 Leather Leather
Hide and Studded Hide and Studded
 Hide Hide
Fur Fur
 Fur Fur
Elven Elven
 Elven - Gold Elven - Gold
Dwarven Dwarven
 Dwarven Dwarven
Ancient Nord Ancient Nord
 Ancient Nord Ancient Nord
Orcish Orcish
 Orcish Orcish
Scaled Scaled
 Scaled Scaled
Wolf Wolf
 Wolf - Grey Fur Wolf - Grey Fur
Glass Glass
 Glass - Golden Glass - Golden
Ebony Ebony
 Ebony - Black Ebony - Black
Blades Blades
 Blades Blades
Falmer Falmer
 Falmer Falmer
Install |
 WARNING
Template:FOMOD_Instructions is deprecated and should no longer be used on this wiki. Please change this template call to use the better-looking and simpler Template:Fomod. We apologize for the inconvenience.
FOMOD Instructions
aMidianBorn Book of Silence CREATURES
|
Options
Options
Options Options
 Custom Custom
Next Options
Options
Skeleton
Dragon Priest Dragon Priest
 None None
Draugr Draugr
 None None
Falmer
Chaurus Chaurus
 Chaurus Chaurus
Spriggan
Install |
 WARNING
Template:FOMOD_Instructions is deprecated and should no longer be used on this wiki. Please change this template call to use the better-looking and simpler Template:Fomod. We apologize for the inconvenience.
FOMOD Instructions
aMidianBorn Book of Silence DRAGONBORN
|
Options
Options
Options Options
 Custom Custom
Next Custom
Custom
Nordic Carved Armor Nordic Carved Armor
 Black Fur (default) Black Fur (default)
Bonemold Armor Bonemold Armor
 Bonemold Armor Bonemold Armor
Acolyte Masks Acolyte Masks
 Acolyte Masks Acolyte Masks
Dragon Priest Acolytes Dragon Priest Acolytes
Select Nothing Hulking Draugr Hulking Draugr
Select Nothing Ash Spawn Ash Spawn
 Ash Spawn Ash Spawn
Ash Guardians Ash Guardians
 Ash Guardians Ash Guardians
Install |
 WARNING
Template:FOMOD_Instructions is deprecated and should no longer be used on this wiki. Please change this template call to use the better-looking and simpler Template:Fomod. We apologize for the inconvenience.
FOMOD Instructions
aMidianBorn Book of Silence UNIQUE ITEMS
|
Options
Options
Options Options
 Custom Custom
Next Custom
Custom
Targe of the Blooded Targe of the Blooded
 Targe of the Blooded Targe of the Blooded
Wuuthrad Wuuthrad
 Wuuthrad Wuuthrad
Savior's Hide Savior's Hide
 Savior's Hide Savior's Hide
Helm of Yngol Helm of Yngol
 Helm of Yngol Helm of Yngol
Mace of Molag Bal Mace of Molag Bal
 Mace of Molag Bal Mace of Molag Bal
Mehrune's Razor Mehrune's Razor
 Mehrune's Razor Mehrune's Razor
Volendrung Volendrung
 Volendrung Volendrung
Tsun's Armor Tsun's Armor
 Tsun's Armor Tsun's Armor
Ebony Mail Ebony Mail
 Ebony Mail - Black Ebony Mail - Black
Staff of Magnus Staff of Magnus
 Staff of Magnus Staff of Magnus
Dragon Priest Masks Dragon Priest Masks
Select Nothing Install |
 WARNING
Template:FOMOD_Instructions is deprecated and should no longer be used on this wiki. Please change this template call to use the better-looking and simpler Template:Fomod. We apologize for the inconvenience.
FOMOD Instructions
aMidianBorn Book of Silence WEAPONS
|
Options
Options
Options Options
 Install all weapons (default) Install all weapons (default)
Install |
Optional ESPs
Depending on how the mods are installed:
- Right-click the aMidianBorn Book of Silence or aMidianBorn Book of Silence WEAPONS mod
- Click [Information...].
- Click the Optional ESPs tab and move aMidianborn_Skyforge_Weapons.esp from the right pane to the left.
NOTE: Users should repeat these steps whenever asked to moved plugins to the Optional ESPs. Hiding files and folders
Hide the following files/folders:
To do this,
- Double-click on the mod listing in the left pane.
- Click the Filetree tab.
- Expand the textures folder.
- Right-click on the clothes folder and select [Hide].
NOTE: Users should repeat these steps whenever asked to hide files or folders from a mod. |
TEST
|
|
[ AMidianBorn Book of Silence (SE)] |
|
|
|
SKSE64 |
Detailed Instructions
|
Root Files Installation
- Download the "Current SE build" archive file.
- Open the archive and extract the following files to the Skyrim Special Edition root folder
..\Steam\steamapps\common\Skyrim Special Edition:
- skse64_X_X_X.dll
- skse64_loader.exe
- skse64_steam_loader.dll
- Keep this archive open for the next steps.
Data Files Installation
- Click on the
 button and select, [Create empty mod]. button and select, [Create empty mod].
- Name it
SKSE64.
- This places the new, empty mod at the bottom of the mod list.
- Enable SKSE64 in the MO left pane.
- Open the SKSE64 in Windows Explorer (Ctrl + double-click).
- Create a new folder named SKSE and open it.
INI File
- Within the SKSE folder, create a new file named SKSE.ini i.e.
..SKSE64\SKSE\SKSE.ini
- Open the new file and copy and paste the code in the box below, and save and close the file when finished.
[Display]
iTintTextureResolution=2048
[General]
ClearInvalidRegistrations=1
Scripts
- From the archive downloaded above, open the Data folder e.g.
SKSE64_x_x_x.7z/SKSE64_x_x_x/Data/
- Extract the scripts folder from the archive to the SKSE64 folder i.e.
..\SKSE64\scripts\.
- Close archive and Windows Explorer sessions.
Once complete, the SKSE64 mod's folder structure should be:
Launcher Configuration
Normally, MO should auto-detect that SKSE is installed upon a restart of the program, and it will auto-generate the SKSE game launcher. This should be used for launching Skyrim going forward. Below are some recommendations for further configuration of the SKSE launcher ... or, if for some reason MO fails to configure this. Please ensure the following is correct for SKSE:
- In MO, click the
 button at the top of the main Mod Organizer window. button at the top of the main Mod Organizer window.
- Over the left pane, click the [+] (add executable button) and select [Add from file...].
- Navigate to the skse64_loader.exe file (e.g.,
..\Steam\steamapps\common\Skyrim Special Edition\skse64_loader.exe).
- "SKSE" can be renamed for clarity, however, if this is done, MO will automatically create the "SKSE" launcher again and place it at bottom of the list.
- Use this executable to launch Skyrim SE going forward.
Reference Image:

|
|
|
Arctic - Frost Effects Redux |
Baseline: Lite Detailed Instructions
|
FOMOD Instructions
Arctic - Frost Effects Redux
|
- Arctic Installation
- Arctic Add-ons
- Arctic Texture Resolution
- Arctic Frost Color
- Arctic Icicles Size
- Arctic Optional Plugin
- Plugin Option
- ◉ Frost Mesh Patch (ESL-Tagged)
|
|
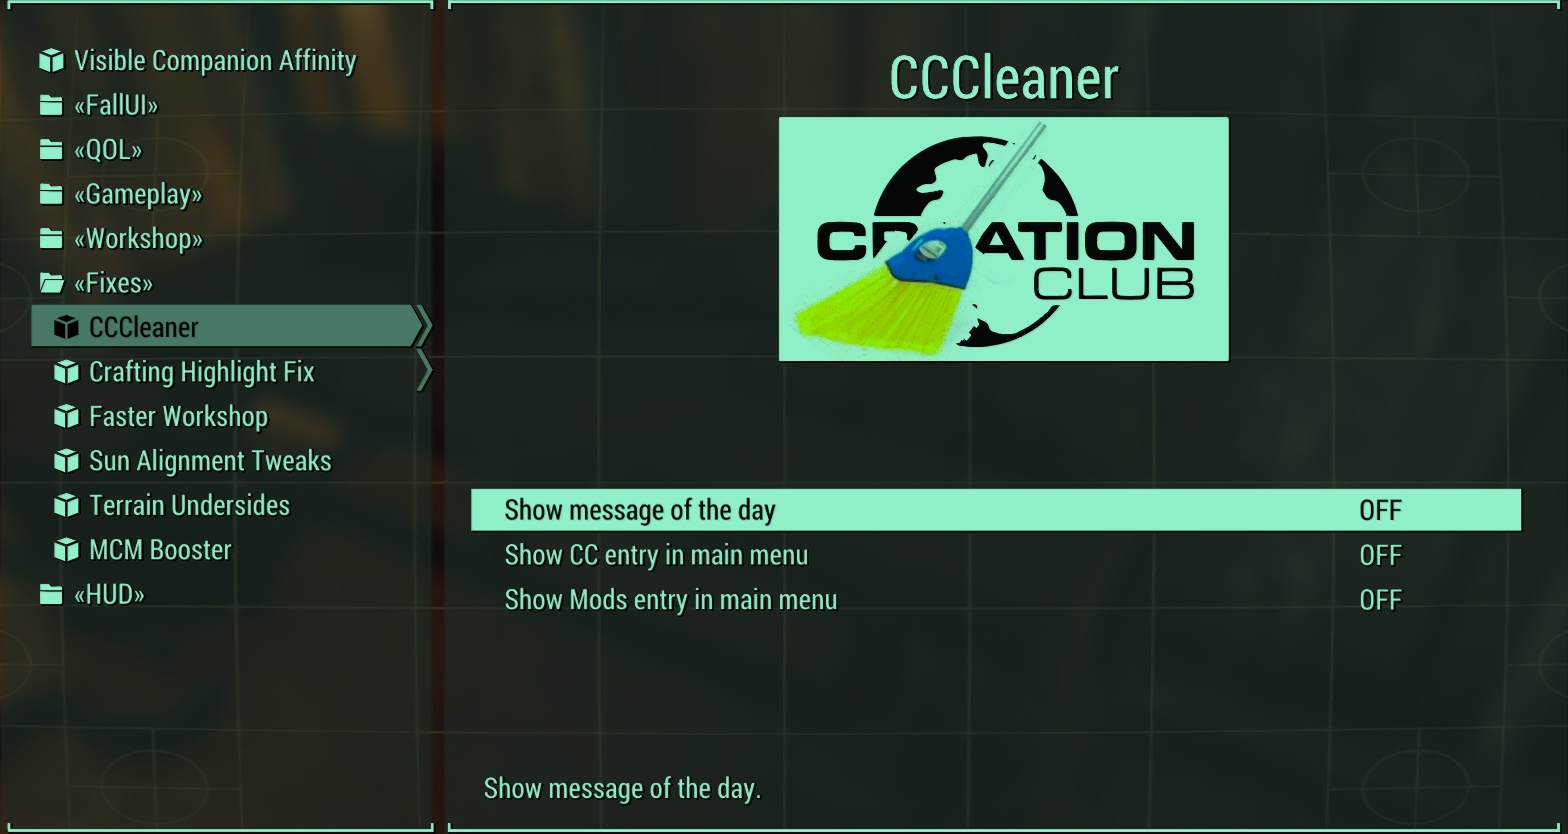
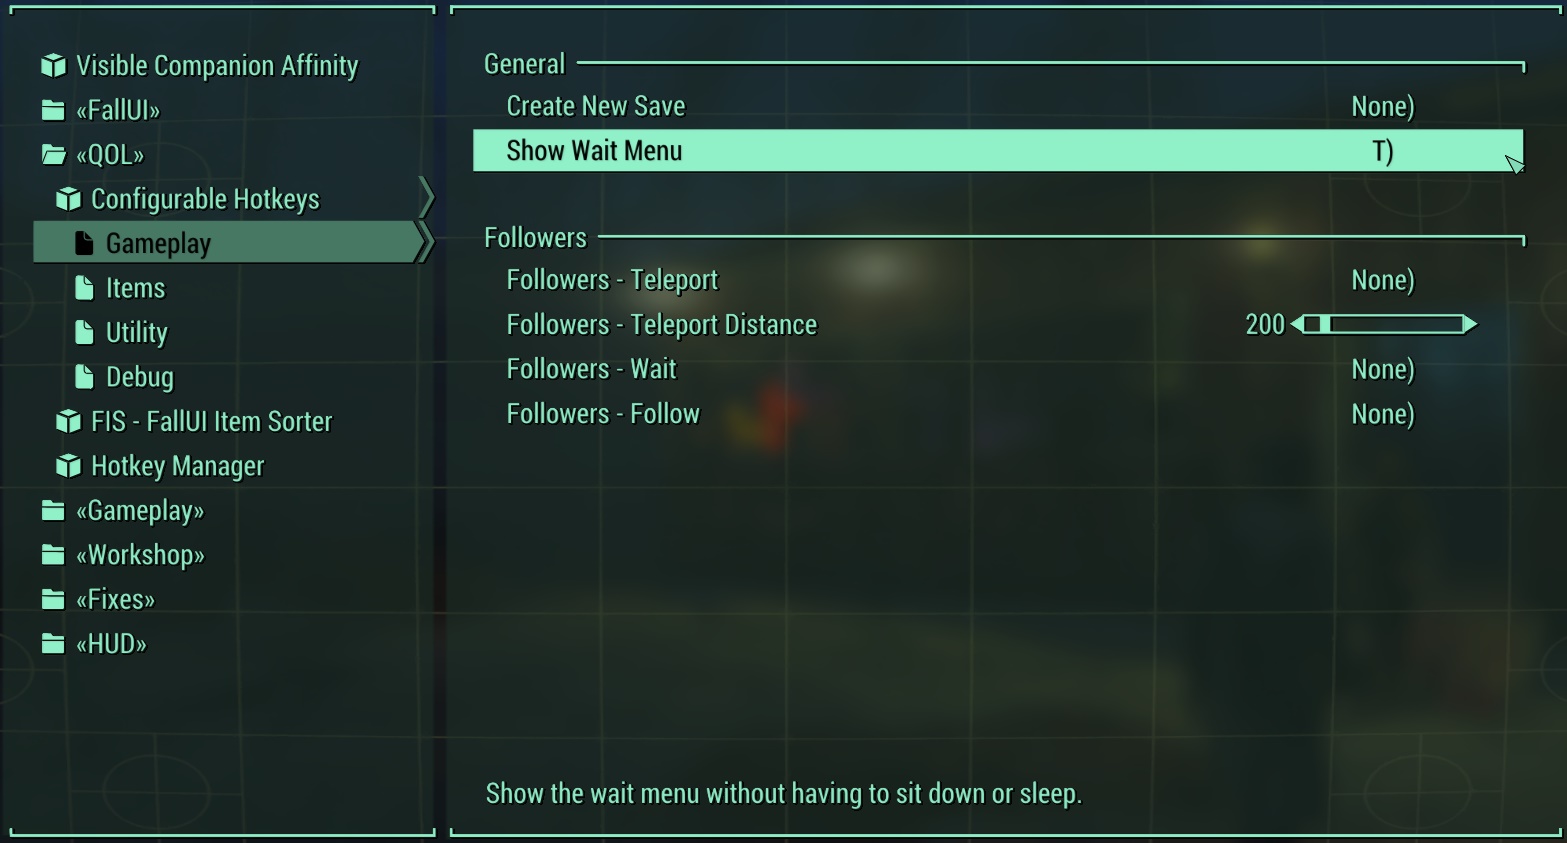
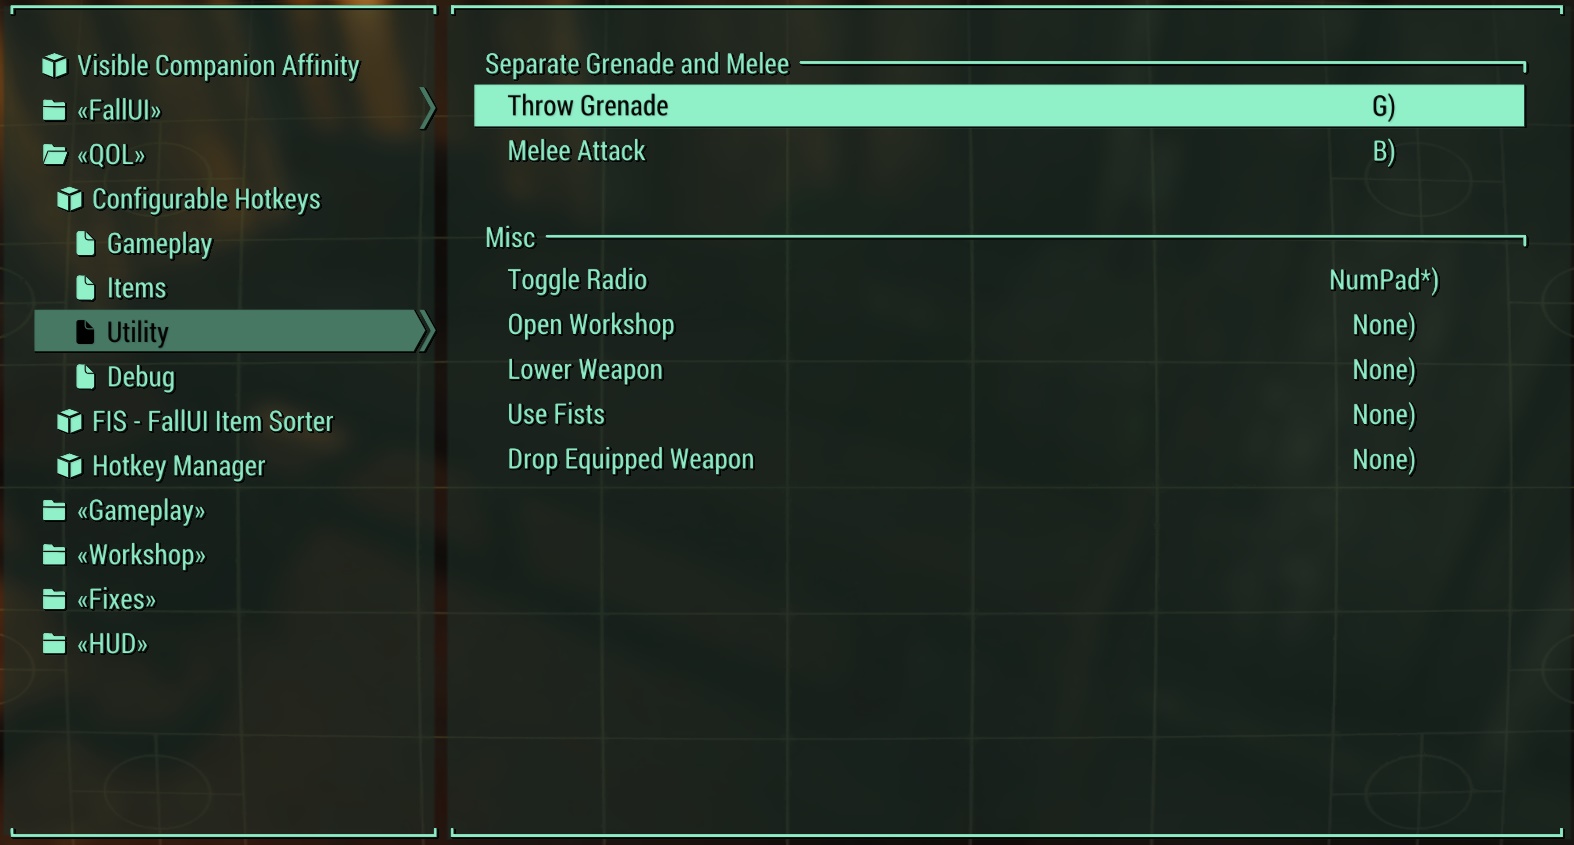
Testing MCM Tables
| ModName1
|
|
| ModName2
|
|
Test MCM
Test Spoiler
➕ show➖ hide
collapsed content


