
Guide:Archive2: Difference between revisions
| Line 107: | Line 107: | ||
Texture-optimized archives improve the way textures are handled by the game, optimizing performances and VRAM usage. | Texture-optimized archives improve the way textures are handled by the game, optimizing performances and VRAM usage. | ||
Technicalities are... technical. Here are two quotes from ianpatt (f4se, originally dumped .ba2 for bsaextractor), and Jon (Nifskope, B.A.E.): | |||
{{Quotation|Jon| | |||
The Texture BA2s are an optimized format. They do not hold complete DDS files but instead are optimized for streaming certain miplevels into the game. Additionally, they use texture formats which are DX10+ and which are not widely supported by DDS tools. This affects normal maps in particular, so for the time being normal maps will very likely be incorrect and loose normal files will very likely not work correctly. | |||
}} | |||
{{Quotation|ianpatt| | |||
There are two types of ba2 archives: general, and texture. General archives can contain anything, while texture archives are optimized for storing textures. There is no significant size advantage when comparing the two, but texture archives store textures in a more intelligent way that is friendlier to the runtime texture streamer. When reading a DDS file, finding the lower resolution textures requires seeking to, and therefore decompressing most of the file. This is inefficient, because in most cases you will care about the lower resolution mips first, when the object is off in the distance. Texture archives store any mips higher than 256x256 in their own separate blocks, while the 256x256 and below are all in their own block. | |||
Please note that the values in the DDS header are not present in the original texture archive, and were chosen for compatibility rather than accuracy. Color textures are accurate, but DXGI_FORMAT_BC5_UNORM (normal maps) and DXGI_FORMAT_BC7_UNORM are definitely wrong. | |||
}} | |||
Textures pack are often distributed as loose files, because they don't need any plugin. However, re-packing them as .ba2 can improve performance over loose files. | Textures pack are often distributed as loose files, because they don't need any plugin. However, re-packing them as .ba2 can improve performance over loose files. | ||
Revision as of 19:39, May 5, 2016
Introduction[edit | edit source]
Archive2 is the official tool from Bethesda used to pack archives files for Fallout 4, known as .ba2
It is part of the toolpack that come with the Fallout4's Creation Kit.
For end-users, it is useful to re-pack files under .ba2, especially textures.
Installation[edit | edit source]
The creation kit and its toolpack have to be installed through the Bethesda.net launcher.
You can download the installer by clicking here
Once the download is complete, run BethesdaNetLauncher_Setup.exe to install it to the location of your choice.
Then, start the launcher (either from the shortcut if you chose to create one during the installation, or by launching BethesdaNetLauncher.exe ). You will be presented with this page:
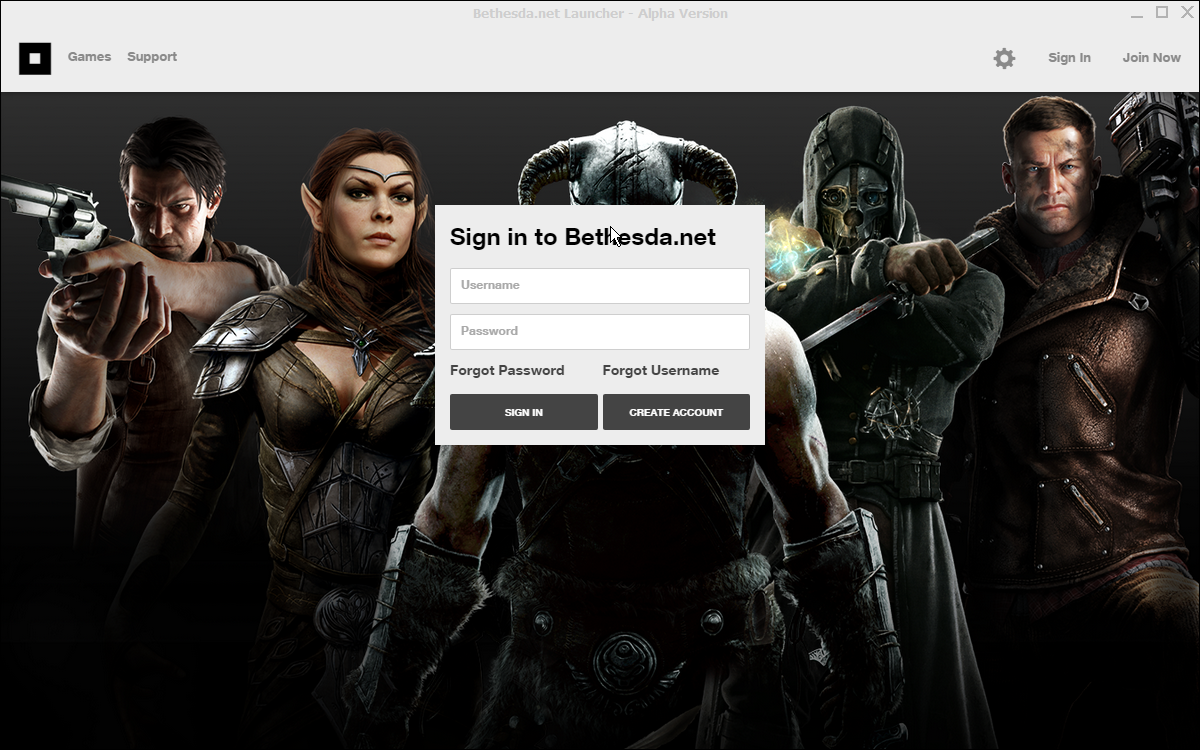
If you don't already have a Bethesda.net account, you will need to create a one by clicking on CREATE ACCOUNT. If you already have one, simply enter your credentials to gain access to the launcher:
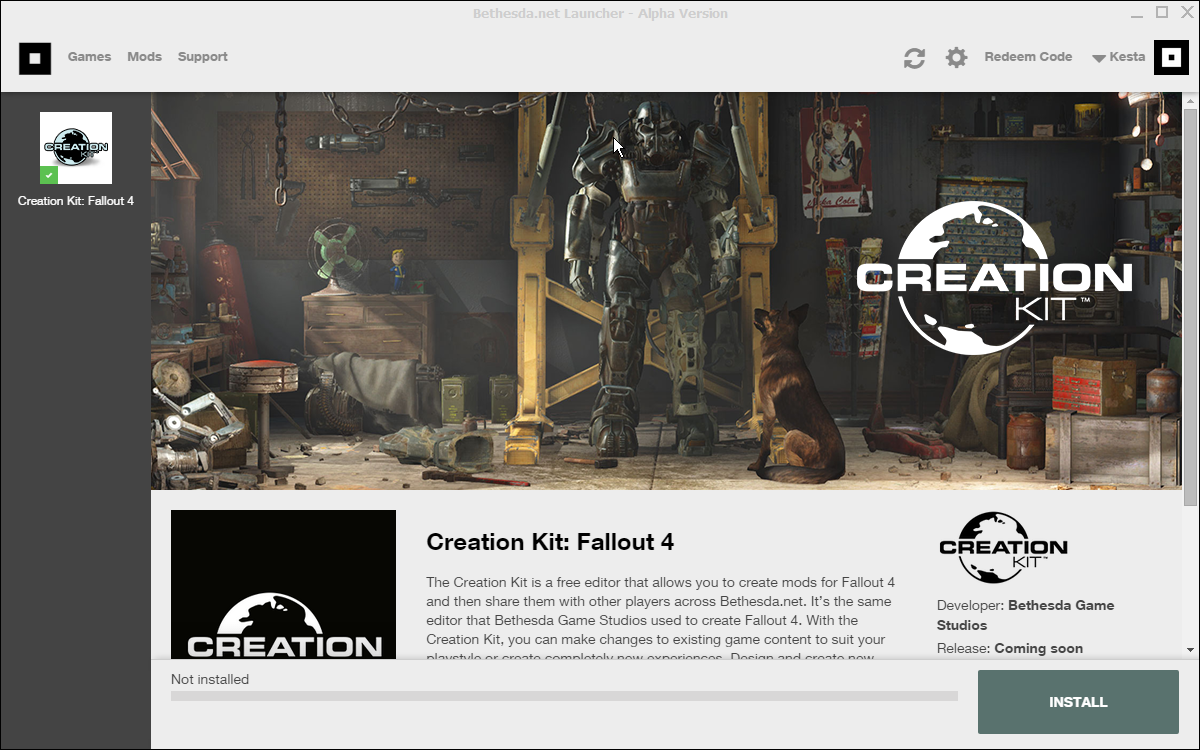
Simply select Creation Kit: Fallout 4 in the left panel, and click INSTALL on the bottom-left corner of the launcher. Accept the EULA, and leave the install options at default (except for shortcuts if you want/don't want them).
Wait for the download/installation to complete (less than 1 minute).
Congratulation ! You know have access the the FO4's creation kit and all of its toolset.
Utilization[edit | edit source]
Packing a single archive from scratch[edit | edit source]
You will find Archive2.exe in <gamefolder>\Tools\Archive2
Simply double-click on it to have launch the application:

To add files to your archive, click on Archive -> Add Files... or Archive -> Add Folder..., browse your computer and add the relavant files with the proper folder architecture.
Once all the files you want into your .ba2 have been added, you can pack the .ba2 by clicking on File -> Save.
You will have to enter a name and choose the location of your archive. Your archive will then be generated according to your settings.
Configuring the settings[edit | edit source]
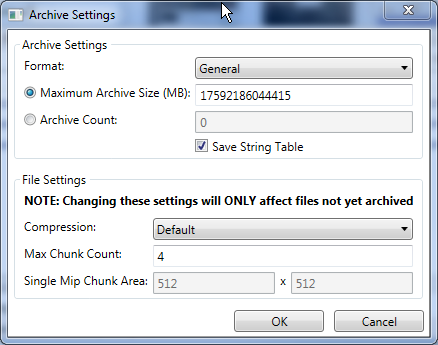
To configure the settings of your archive, click on Archive -> Settings... to bring up this dialogue:
Archive Settings[edit | edit source]
Those settings affect the archive itself.
Format[edit | edit source]
Default: General
Options:
- General - Pack the archive as a regular .ba2
- DDS - Pack the archive optimized for textures
- XBoxDDS - Pack an archive optimized for textures and XBox
- GNF - Unknown, should allow for texture-storage optimization as well
Maximum Archive Size[edit | edit source]
Default: 17592186044415
Mutually exclusive with Archive Count. Set the size limits of an archive, in MB.
Note that despite this setting, the game itself can only load .ba2 under ~2Gb This is probably intended to limit further the size of archives when packaging for consoles.
Archive Count[edit | edit source]
Default: 0
Mutually exclusive with Maximum Archive Size. Believed to be usable to create multiple indexed archives (see FO4's textures .ba2 files).
Save String Table[edit | edit source]
Not 100% sure about this yet (well, this sure is to save a string table of the archived files somewhere, the question is where, and to which purpose).
File Settings[edit | edit source]
Those settings affect individual files stored in the archive. Only files added to the archive will have those settings taken into consideration, files already present will retain their previous compression level.
Compression[edit | edit source]
Default: Default
Options:
- None - No compression
- Default - Standard compression
- XBox - Xbox-specific compression
The compression of the file.
Max Chunk Count[edit | edit source]
Not 100% sure about this yet, most-likely related to texture mipmaps.
Single Mip Chunk Area[edit | edit source]
Not 100% sure about this yet, most-likely related to texture mipmaps.
Why and how re-packing texture packs ?[edit | edit source]
Texture-optimized archives improve the way textures are handled by the game, optimizing performances and VRAM usage.
Technicalities are... technical. Here are two quotes from ianpatt (f4se, originally dumped .ba2 for bsaextractor), and Jon (Nifskope, B.A.E.):
Quoted text.
— Quotation source
Quoted text.
— Quotation source
Textures pack are often distributed as loose files, because they don't need any plugin. However, re-packing them as .ba2 can improve performance over loose files.
There is two ways to have a .ba2 loaded into the game :
Plugin's name match:
- Create a dummy plugin by simple opening the CK and saving. (In this example, PluginName.esp)
- Package your archive with the texture pack, and name it PluginName - Textures.ba2
- Make sure both are present in the Data\ folder, and that PluginName.esp is activated.
INI force feed:
- Package your archive with the texture pack. Name it whatever you want, such as MyTexturePack.ba2
- Add MyTexturePack.ba2 at the end of the list (separated by comma) of the sResourceIndexFileList setting in Fallout4.ini